7 min read
How to Fix an Open Neutral Outlet (12 Steps)
An open neutral wire can cause havoc in your home. It can cause an electrical fire or damage your electrical appliances. But you can avoid these issues just by reconnecting the neutral wire. However, reconnecting the neutral wire is harder than you think.
Today’s guide will focus on finding a broken neutral wire and connecting it properly to your outlets.
In general, to fix an open neutral wire in an outlet:
- Identify the outlet that has the open neutral connection.
- Check the hot slot of the outlet.
- Turn off the main circuit breaker.
- Remove the outer cover of the 1st outlet.
- Examine the outlet wire connections.
- Move on to the 2nd outlet.
- Check the 2nd outlet.
- Remove the outer cover of the 2nd outlet.
- Examine the 2nd outlet.
- Connect the broken neutral wire.
- Connect all the outer covers of the outlets.
- Check the 1st outlet.
Continue reading for a detailed explanation.
12-Steps to Fix an Open Neutral Outlet
Things You’ll Need
Gather the following things before you start.
- Outlet tester
- Voltage tester
- Phillips screwdriver
- Wire stripper
Step 1 – Identify the Broken Neutral Wire
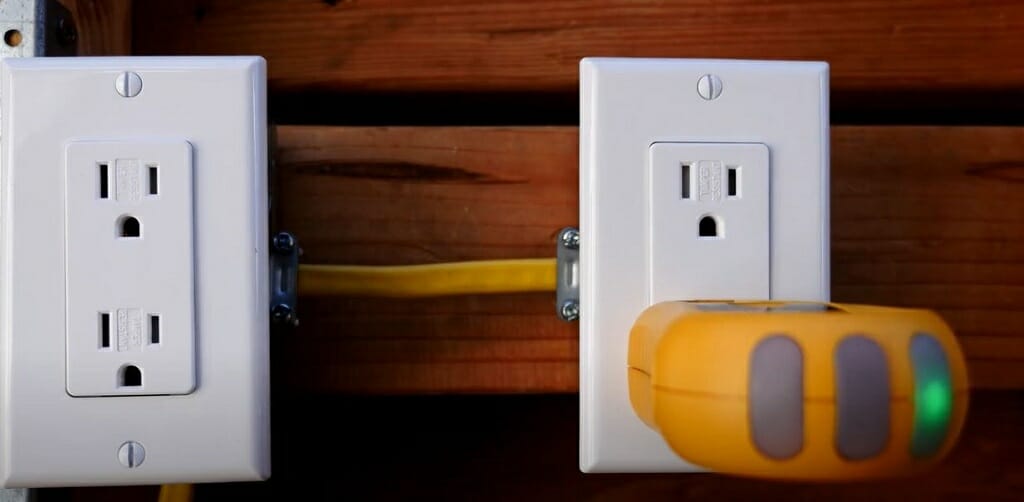
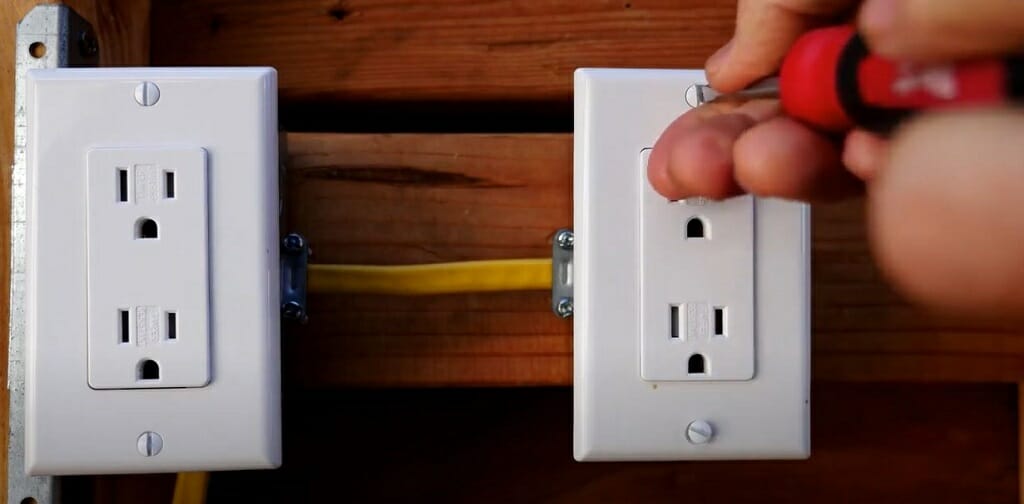
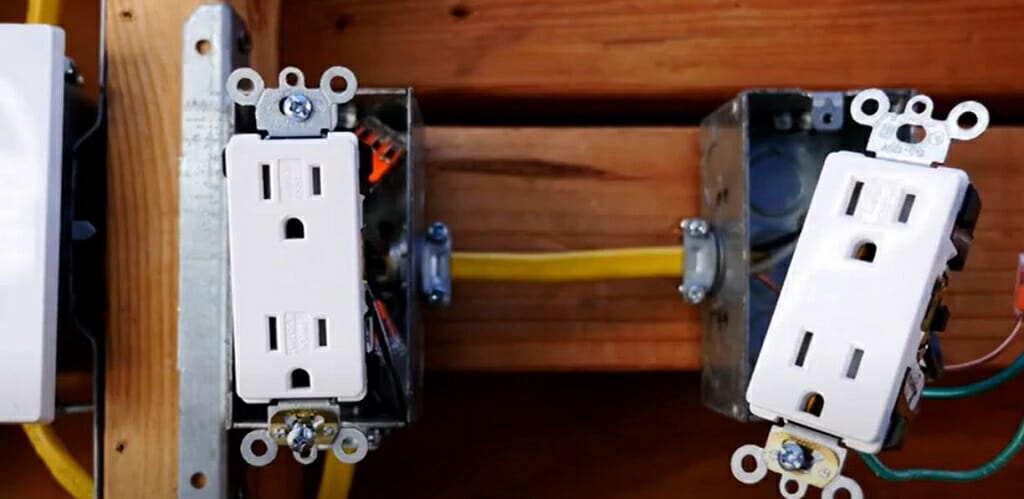
This first step is about identifying the outlet with an open neutral connection. As you can see from the above image, I’m inspecting two connected outlets.
For a clearer understanding, I labeled the left side outlet as 2nd outlet and the right side outlet as 1st outlet. But remember, the power comes to the 2nd outlet first. Then, power goes to the 1st outlet from there.
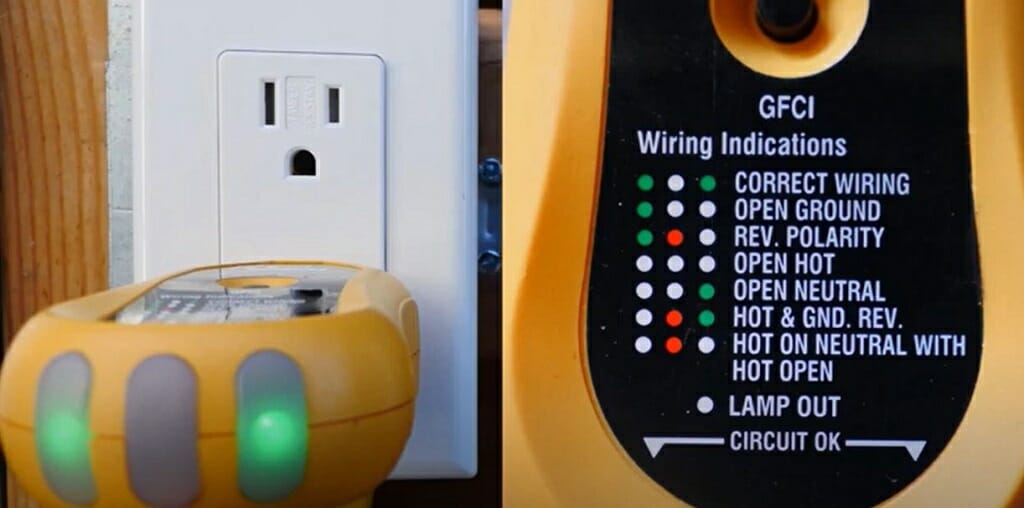
Hence, first supply the power to both outlets and turn on the switches. Then, take the outlet tester and connect it to the 1st outlet. Examine the above image for a better understanding.
The outlet tester will show you corresponding indicators if it detects an open neutral. As expected, the 1st outlet shows an open neutral wire. That means the neutral wire is broken.
Step 2 – Check the Hot Slot
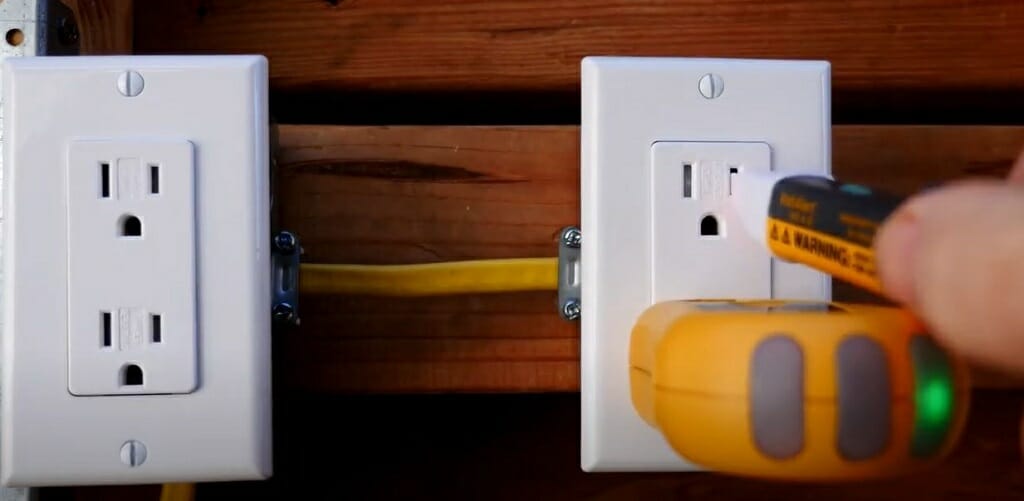
Then, insert the voltage tester into the small slot (hot) of the 1st outlet. This step will confirm no faulty connections in the hot wire.
Step 3 – Turn off the Main Circuit Breaker
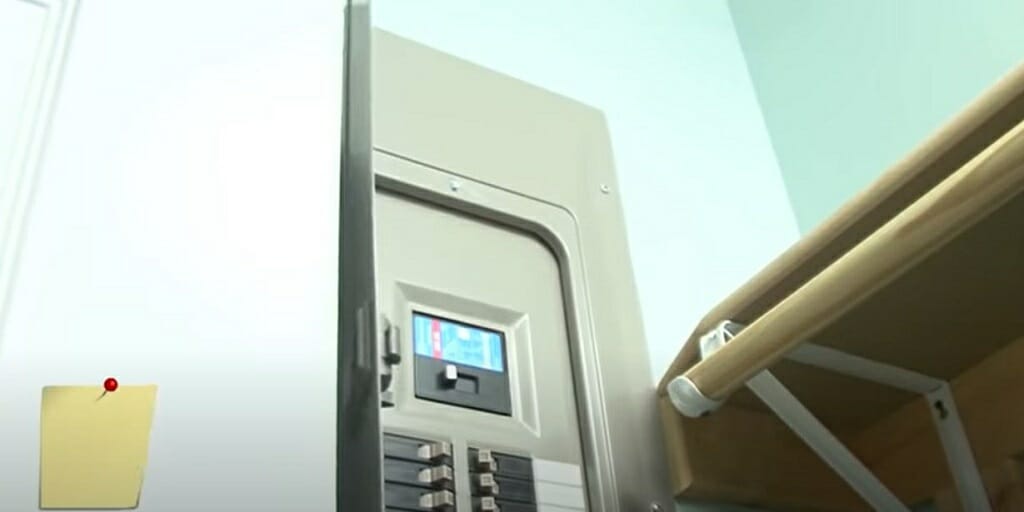
After that, go to your main distribution panel and switch off the main circuit breaker. This is a must before you remove the outlet covers.
Step 4 – Remove the Outer Cover
Next, take a Philips screwdriver and remove the two screws that are holding the 1st outlet cover. After removing the screws, the cover and outlet will come out quite easily.
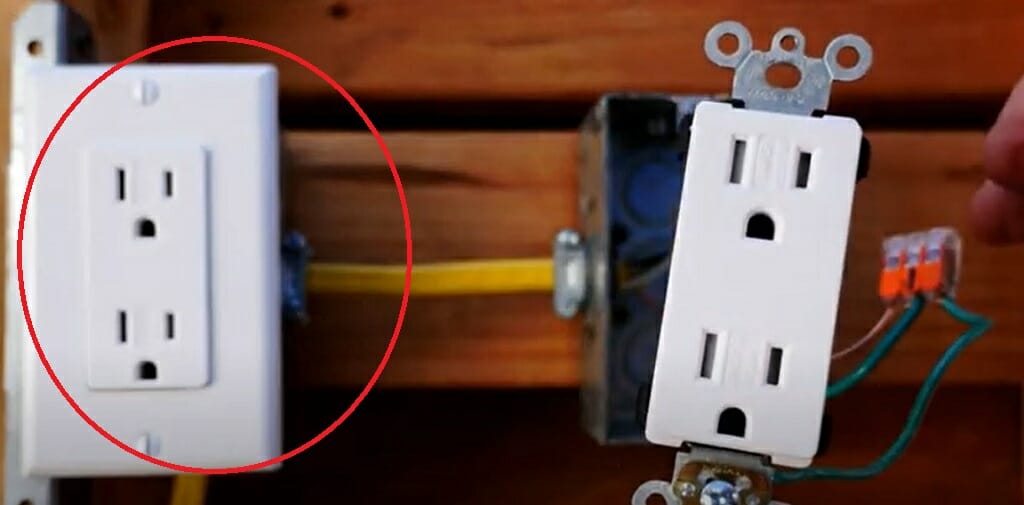
Step 5 – Examine the Wires
Now, examine the 1st outlet’s neutral wire connections. As you can see, there are no broken neutral wires in the 1st outlet (per my demonstration). Therefore, the broken wire might be at the 2nd outlet.
Step 6 – Move to the 2nd Outlet
During step 5, I couldn’t find any broken neutral wire in the 1st outlet. But if you remember correctly, the outlet tester shows an open neutral connection.
The broken wire might be at the 2nd outlet. It is possible that the 2nd outlet to the 1st outlet neutral wire connection is broken. Hence, leave the 1st outlet and move on to the second outlet.
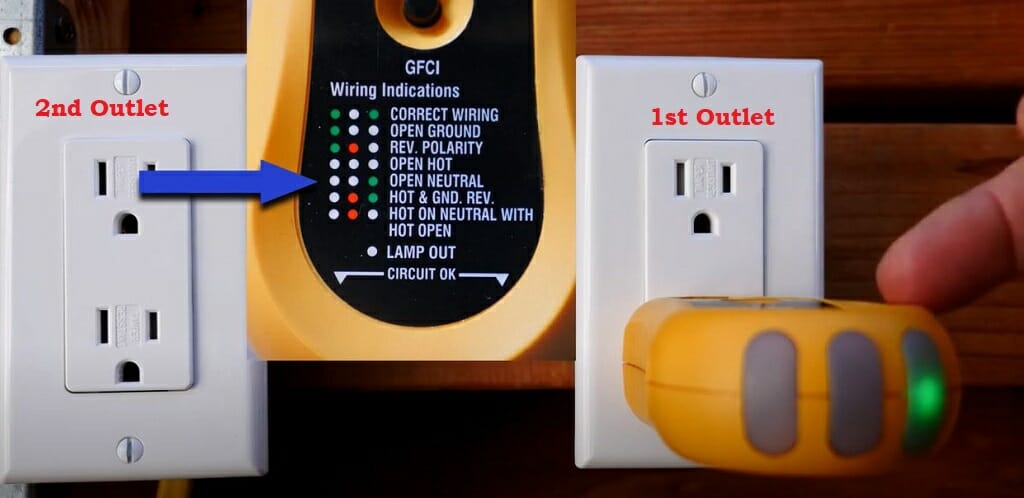
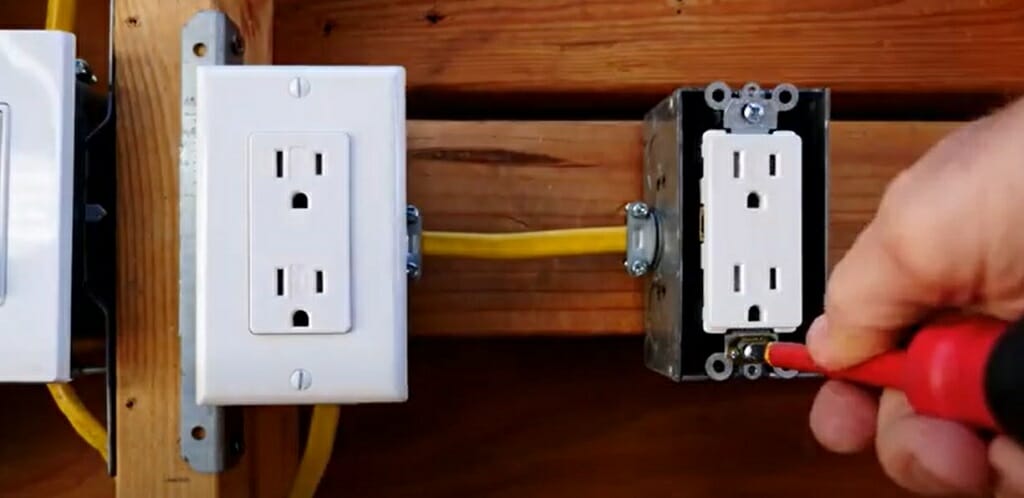
Step 7 – Check the 2nd Outlet
Take the outlet tester and plug it into the 2nd outlet. As you can see from the above image, the outlet tester shows the correct wiring indicators.
Note: Turn on the main breaker before inserting the outlet tester. And turn off the circuit breaker after you check the outlet. Do not start Step 8 while the circuit breaker is on.
Step 8 – Remove the Outer Cover
Next, take the screwdriver and remove the 2nd outlet cover.
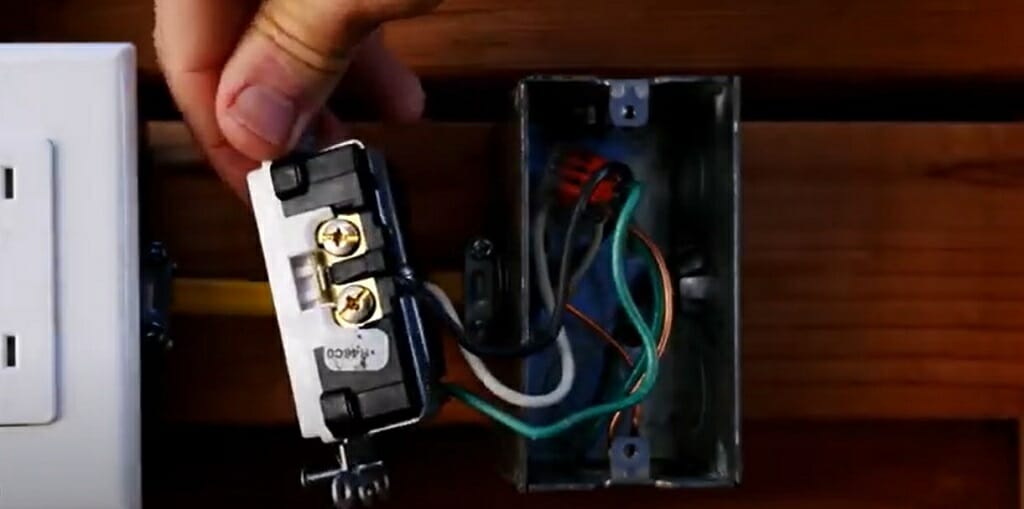
Step 9 – Examine the 2nd Outlet
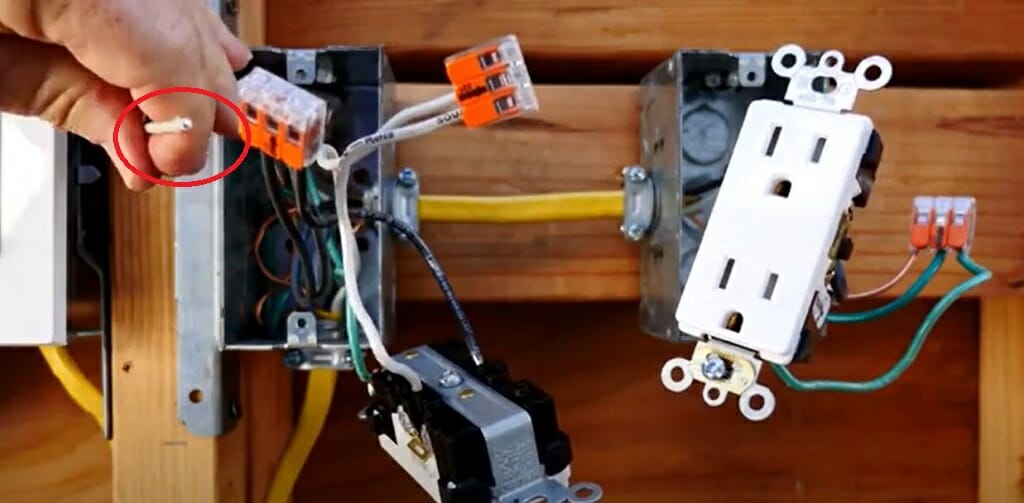
Examine the 2nd outlet wires properly. As you can see, I found the broken neutral wire inside the 2nd outlet. That wire connects 2nd and 1st outlets (neutral connection). But somehow, the wire has disconnected, and because of that 1st outlet, it shows an open neutral connection.
Important: I found the broken neutral wire inside the 2nd outlet in this demonstration. But some cases might not be easy such as this one. For instance, you might have to check 3 or 4 outlets before finding the broken wire.
Step 10 – Connect the Neutral Wire

Now, connect the broken wire to the terminal box. If needed, use a wire stripper.
Step 11 – Connect the Outer Covers
Next, connect both outlet’s covers properly.
Step 12 – Check the 1st Outlet Again
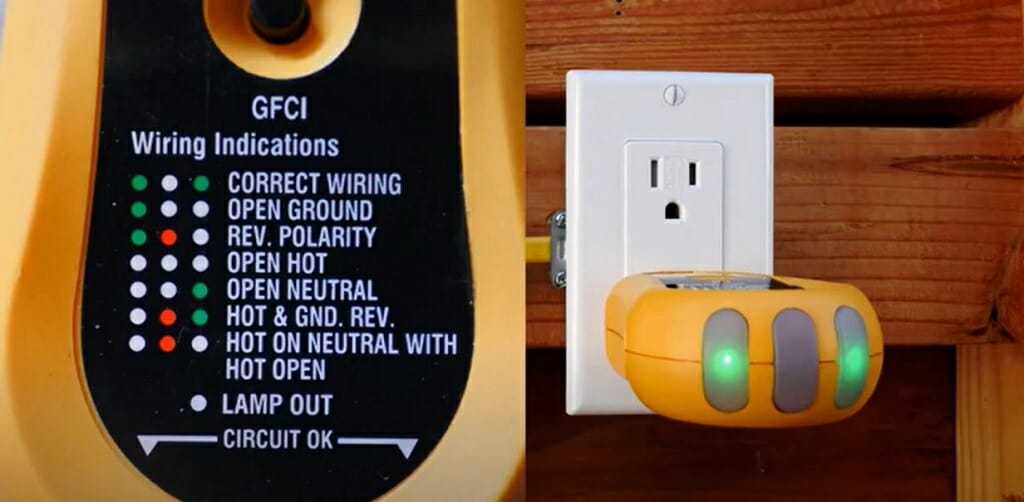
Now turn on the main circuit breaker. Then, check the 1st outlet using the outlet tester. The outlet should show the correct wiring indicators.
References
San Par
MonkeySee