8 min read
How to Fix a Bent Rim with a Hammer (6-Step Guide)
In this article, ill teach you how to fix a bent rim with a few strikes using a 5-pound sledgehammer in a few minutes.
As a handyman and self-proclaimed gearhead, I often use a few hammering tricks to rectify bent rims quickly. Flattening the bent sections in your rim relieves the tires from bulging pressure. Fixing a bent rim is important since the bend can rupture the tires or cause your car to lose balance, gradually ruining your suspension if left unattended.
Here are a few quick steps to fix a bent rim with a sledgehammer:
- Raise the wheel of the car off the ground with a jack
- Deflate the tire
- Remove the tire from the rim with a pry bar
- Strike the bent section with a hammer to rectify it
- Inflate the tire and check for leakage
- Use a pry bar to put the wheel back on
I will go into more detail below. Let’s begin.
Tools Needed
- Sledgehammer — 5 pounds
- Safety glasses
- Ear protection
- Car jack
- Pry bar
- Blow torch (not required)
How to Fix a Bent Rim with a 5lb Sledge Hammer
Bent rims cause the tire to bulge. That is very dangerous as it can interfere with your car’s or motorcycle’s balance, eventually leading to an accident.
The repair process generally involves hammering the rim into shape with a sledgehammer of appropriate weight — preferably five pounds. The aim is to align the ring and alleviate or completely offset the bent sections.
Remove the Car’s Tire
Of course, you cannot remove an inflated tire. So, start by deflating the tire. You don’t have to deflate it completely; you may retain some air or pressure that won’t affect your work.
To remove the tire:
Step 1 – Lift The Car
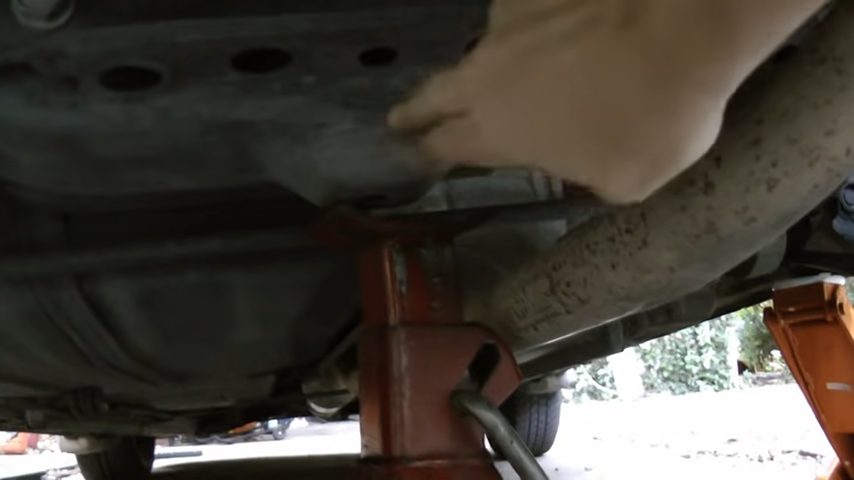
- Place the jack under the car near the bent rim
- Lift the vehicle with a jack
- Ensure the jack is rested underneath the car’s frame as it raises up
- Raise the car until the tire is off-ground
- Verify the stability of the car
Step 2 – Remove the Bolts and Then The Tire
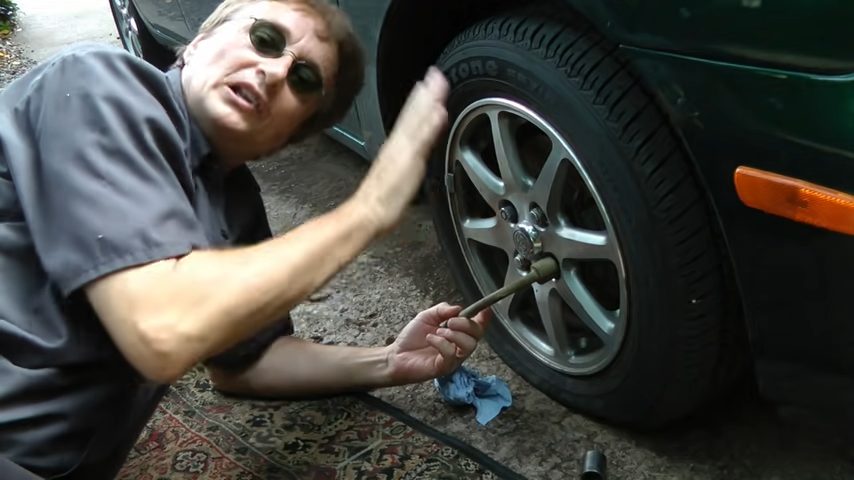
Remove the bolts/lugnuts from the wheel.
Then, pull the tire and the rim off the car.
The tire will be flat for badly damaged rims, making the tire & rim extraction easy.
Step 3 – Separate the Tire From The Rim
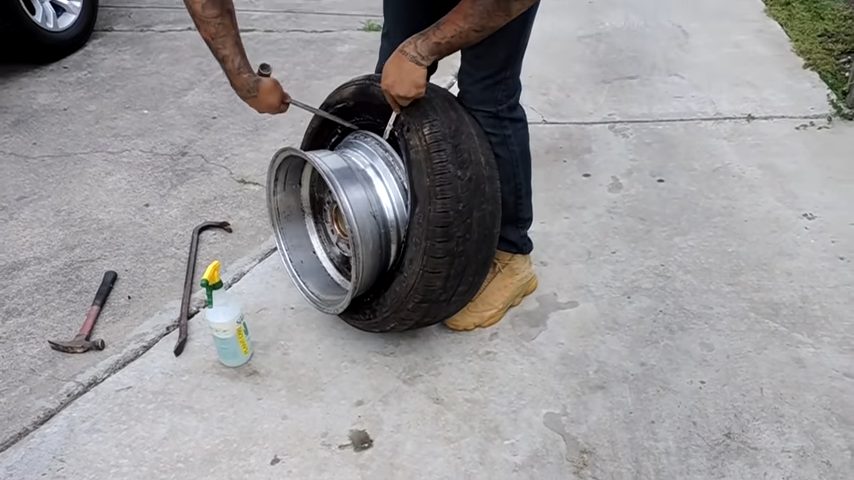
Get your pry bar and separate the flat tire from the damaged rim.
Insert the crowbar in the seal of the tire and move it around the circumference pushing the tire off slowly. I like to rest the tire on my feet while pivoting the crowbar in an outward motion while slowly rotating the tire (I sometimes use a hammer or chisel style tool to take it off as well. Depending on what you have around, you can easily get it off. This step will pull the tire off the rim.
Keep going until you remove the tire completely.
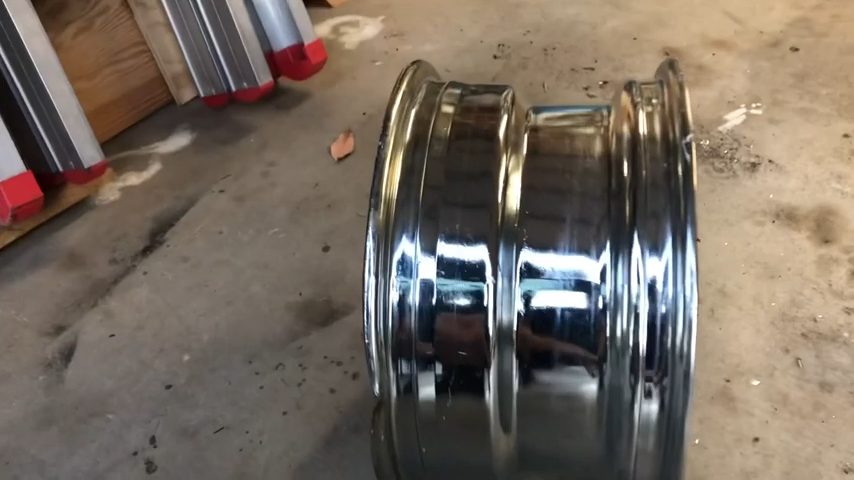
Hammer the Rim into Shape
Now that we have the tire and rim separated from the car, let’s fix the rim.
Step 1: Put on Safety Gear
Hammering the rim may toss out some small pieces like metal shavings or rust that can hurt your eyes.
Additionally, the hammering impact produces deafening noise. I would put on sturdy safety goggles and ear protection for these two problems.
Step 2: Heat the Bent Section of The Rim (Recommended, Not Required)
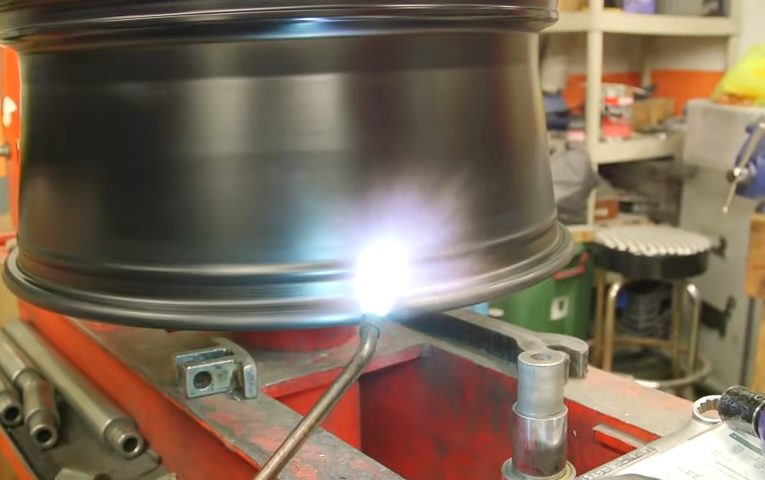
Use a blow torch to heat the bent area on the rim. Heat the section continuously for about two minutes.
The extent of the damage will determine how long you should heat the bent rim. You should heat longer if there are several bent spots. The heating will make the rim more malleable, hence easy to hammer into shape.
This isn’t completely necessary, but it would make your job much easier and cleaner.
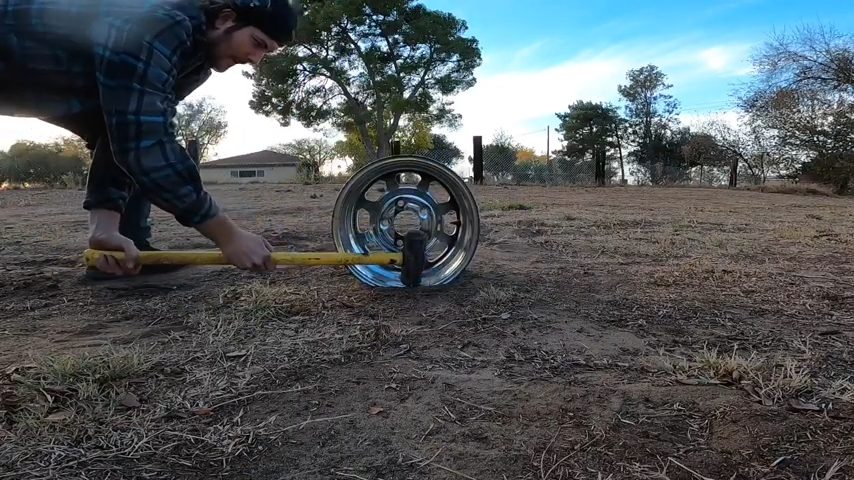
Step 3: Flatten the Bulging or Bent Sections on The Rim
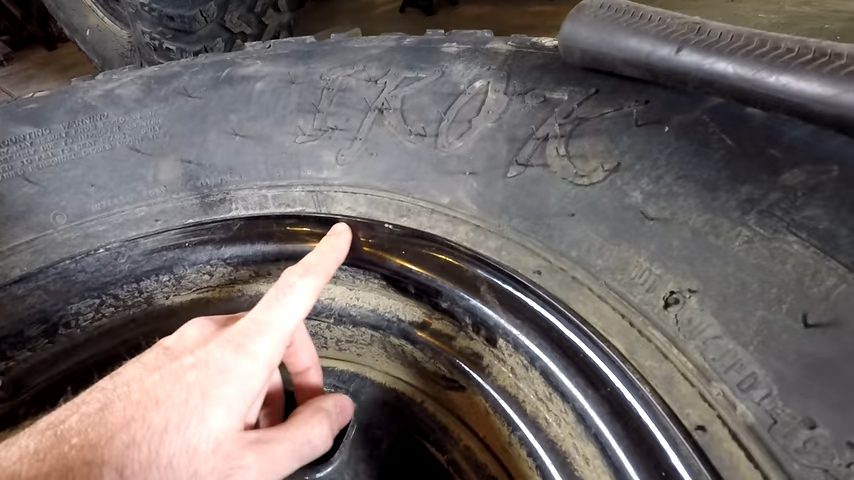
After you have removed the tire, trace the bent sections on the rim carefully. To see clearly, rotate the rim on a uniform surface and check wobbling sections. Halt the rotating upon noticing any wobbling parts or lips and work on them.
Align your rim on a sturdy surface to prevent it from flipping while hammering. Get into a good posture and strike the busted or bent edges on the rim with a hammer. (1)
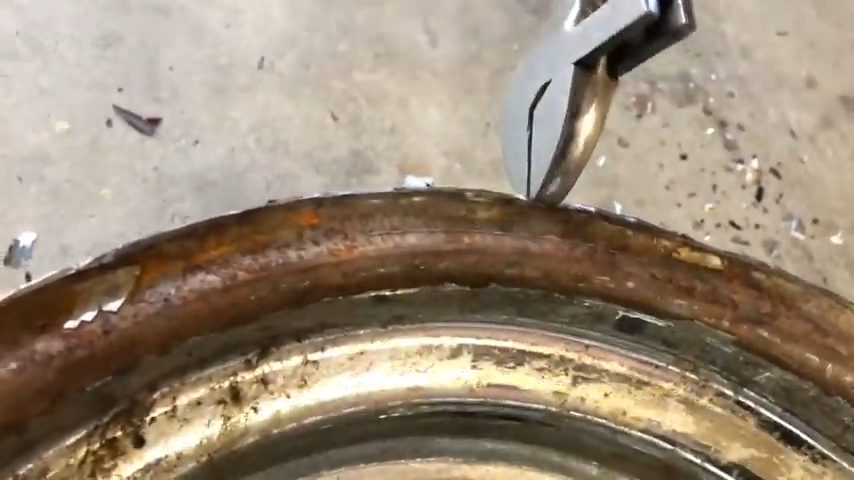
You can also use a crescent wrench to level bent lips on the ring. Simply nest the busted section in the wrench and pull it into its initial state.
Step 4: Repeat Steps Two and Three
Hit and strike the bent sections until they fall into shape. In practice (if you used a blowtorch), you won’t do this for long as the heat will aid the rim reformation process.
Next, wait for the rim to cool down and restore the tire on the rim with a pry bar.
Step 5: Restore the Air
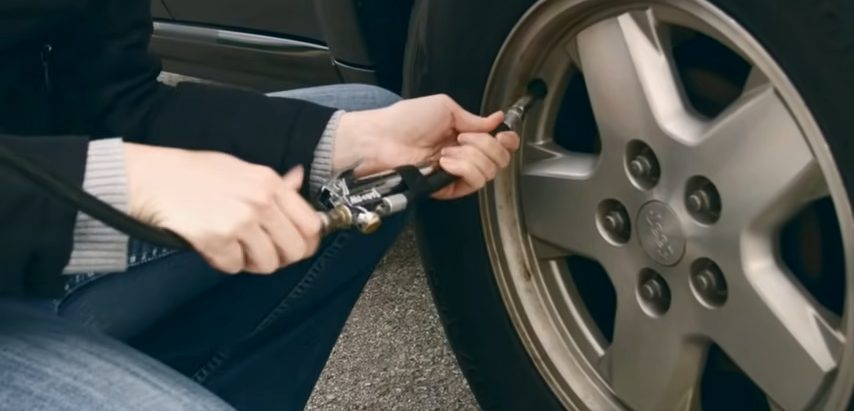
Inflate the tire with an air compressor. Check for bulges and air leaks; if there are any, note the locations and repeat steps two and three.
To check for air leaks:
- Put soap between the rim and tire with a sudsy soapy solution.
- The presence of air bubbles indicates the presence of air leaks; seek professional help to fix air leaks. (2)
Replace the Tire
Step 1. Roll the tire near the car’s wheel. Raise the tire and flush the rim holes with the studs for the lug nuts. Slide the tire onto your car.
Step 2. Fix the lug nuts onto the wheel studs starting with the bolt nut at the bottom section of the rim. Connect the lug nuts across each other for the tire rim to pull against the studs evenly. Go ahead and screw the top lug nuts. Tighten the lug nuts on the right and the right sides; tighten the lug nut on the right side again.
Step 3. Lower the car jack until the car rests on the ground. Carefully extract the jack from underneath the car. Tighten the bolt nuts again while the wheel is on the ground.
Take a look at some of our related articles below.
- How to test a car ground wire with a multimeter
- How to test a ground wire on a car
- How to drill out broken bolt in engine block
References
(1) good posture – https://medlineplus.gov/guidetogoodposture.html
(2) air leaks – https://www.energy.gov/energysaver/air-sealing-your-home
Video References
Muddy Beards 4X4
Scotty Kilmer
1974chevrolet C10
Cherezian Racing
Howcast