9 min read
How to Drill Out Ignition Lock Cylinder (6 Steps)
In this article, ill teach you how to drill out the ignition lock cylinder.
If you’re dealing with problems with an ignition switch in your car, it might be time to replace the ignition lock cylinder. Removing the ignition lock cylinder is a bit more complicated than one might think. You have to hit the locking mechanism with a right size drill bit. So, with the right tools and technique, I’ll show you how you can do that.
In general, to drill out the ignition lock cylinder:
- Disconnect the battery.
- Remove the steering wheel and covers.
- Decide the drilling point.
- Wear safety gear.
- Start drilling the ignition lock cylinder.
- Insert the key into the ignition switch and pull out the cylinder.
You’ll get more details below.
Ignition Lock Cylinder Locking Mechanism
Before you start on the how-to guide, you’ll need a learn about the locking mechanism of the ignition lock cylinder. The whole process revolves around this locking mechanism. You’ll get a better idea after I explain it to you.
The ignition lock cylinder has a spring mechanism. To get the cylinder out, you should release this spring mechanism. You can do that by turning the key to the ACC position.
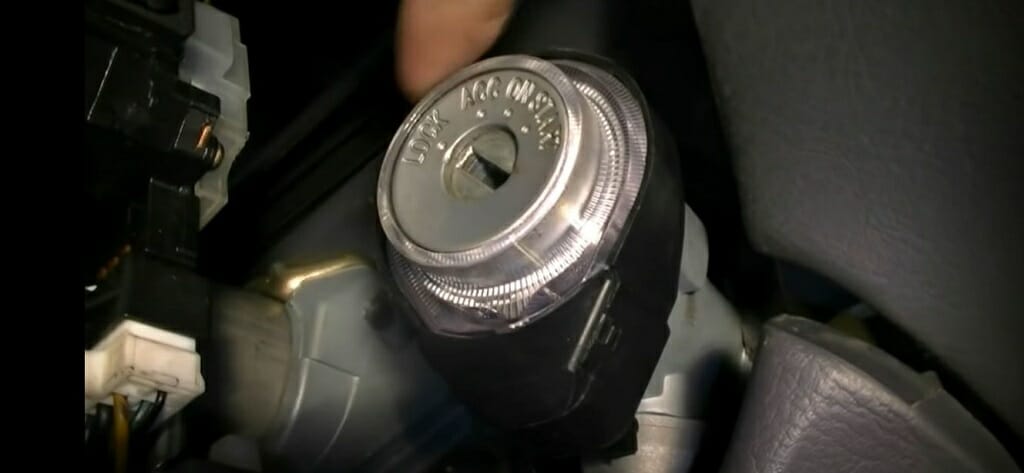
Tip of the Day: There are four positions in an ignition switch; LOCK, ACC, ON, and START.
But when the switch is damaged, you cannot release the locking mechanism. So, you’ll have to depend on an alternative way.
In this guide, I’ll teach you how to drill to disable the locking mechanism.
6-Step Guide on How to Drill Out Ignition Lock Cylinder
Things You’ll Need
- Drill
- Hardened drill bits
- Safety gloves
- Safety glasses
- Flat screwdriver
- Philips screwdriver
- Marker pen
- WD-40 for lubrication (optional)
Step 1 – Disconnect the Battery
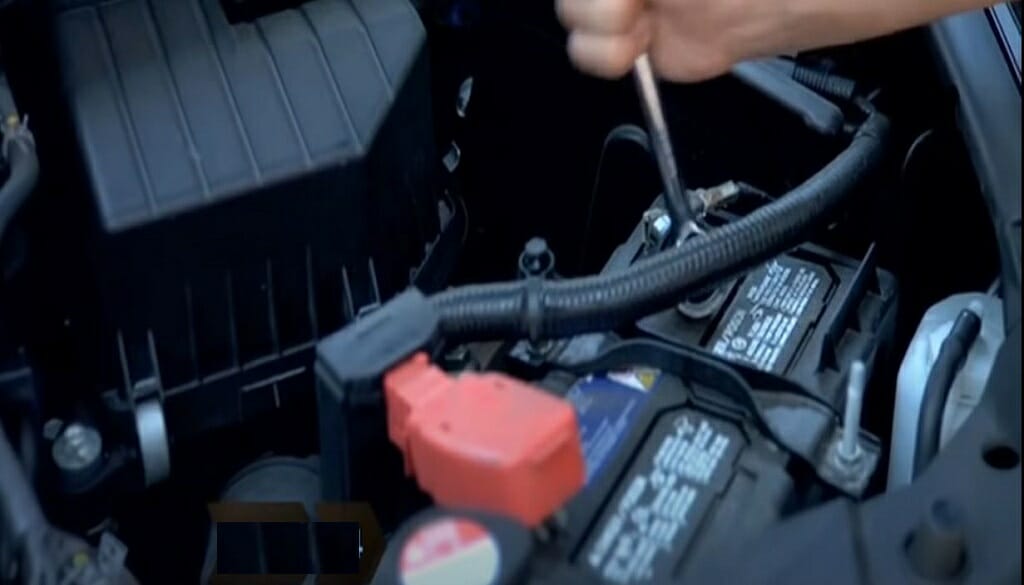
First and foremost, open the hood on your vehicle and disconnect the battery. Cut off the main power supply before starting the process. This is a must-follow step for safety.
Step 2 – Remove the Steering Wheel and the Plastic Covers
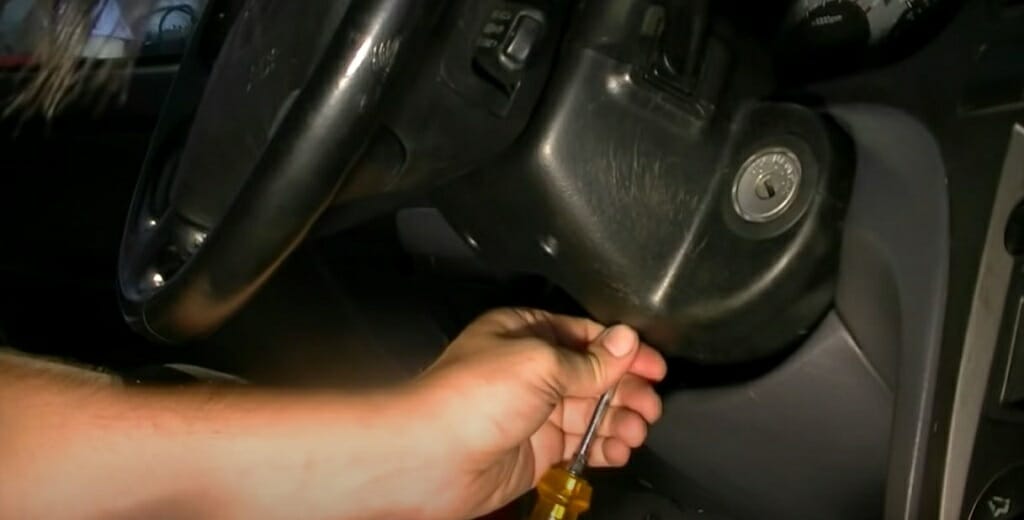
Then, remove the plastic covers that surround the ignition key area. Loosen the screw that holds the cover. Use the Philips screwdriver for this.
Depending on the model of the vehicle, you might have to remove more than one cover.
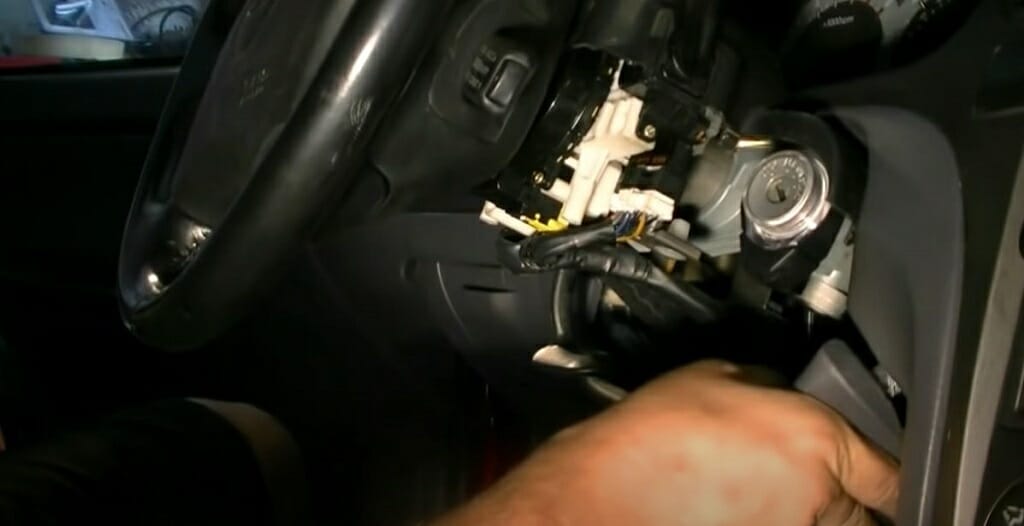
Next, remove the mounting bolt that holds the steering wheel using the Philips screwdriver. After that, unplug the wire from the steering wheel, and take it out completely. Removing the steering wheel is optional. But I would recommend you do it anyway. However, if your ignition switch is located on the dashboard, you don’t need to remove the steering wheel.
Be mindful of: Some ignition lock cylinders might have one or two screws on them. If so, remove them.
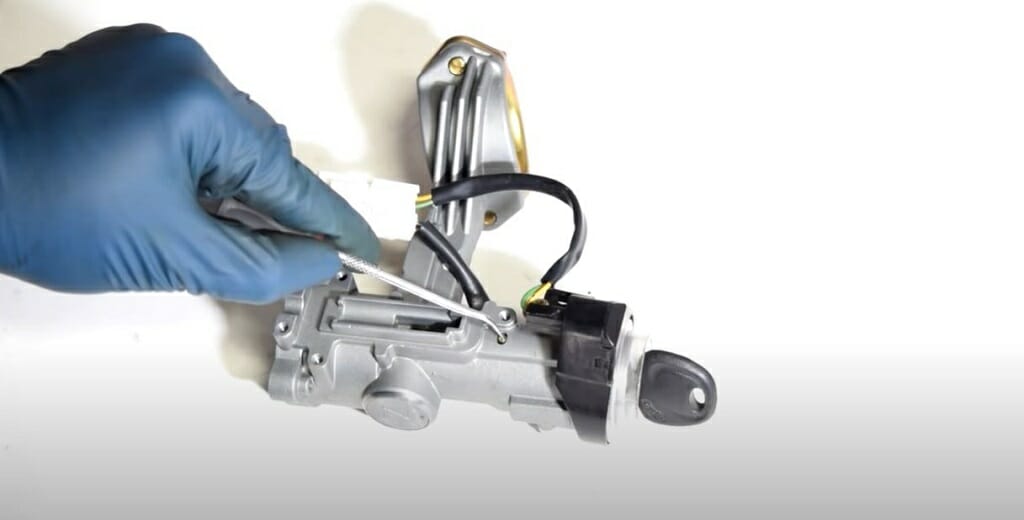
Step 3 – Decide the Drilling Position
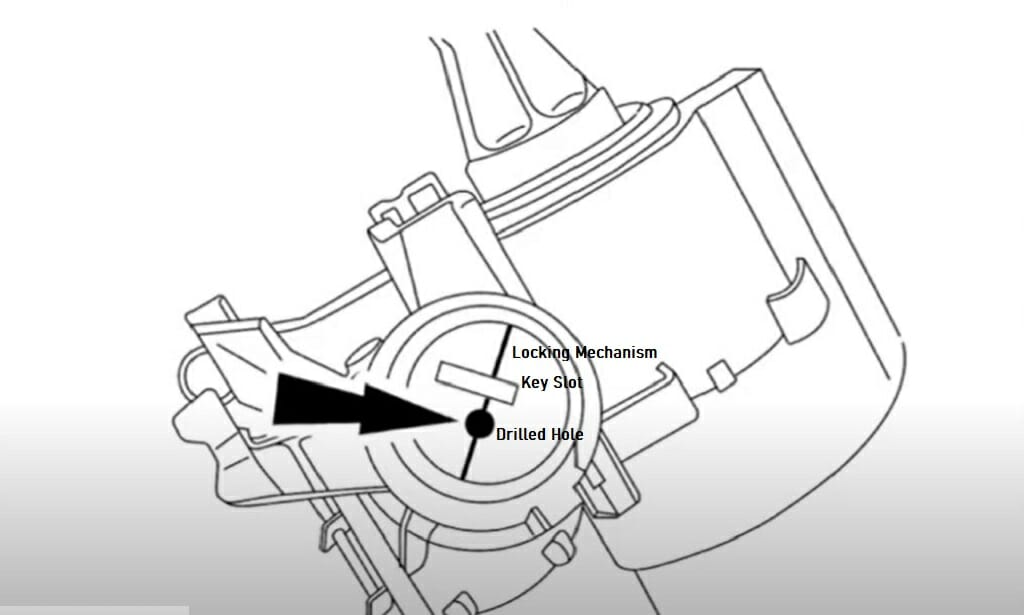
Study the above diagram. As you can see, you need to drill the ignition lock cylinder 8-10mm from the key slot. The target is to reach the locking mechanism (perpendicular line for the ignition key slot) with the drill. So, mark the location before starting the drilling process.
Be mindful of: Don’t drill too close to the key slot. It might damage the slot. Also, you won’t be able to aim correctly for the locking mechanism while drilling through a large hole.
Step 4 – Wear Safety Gear
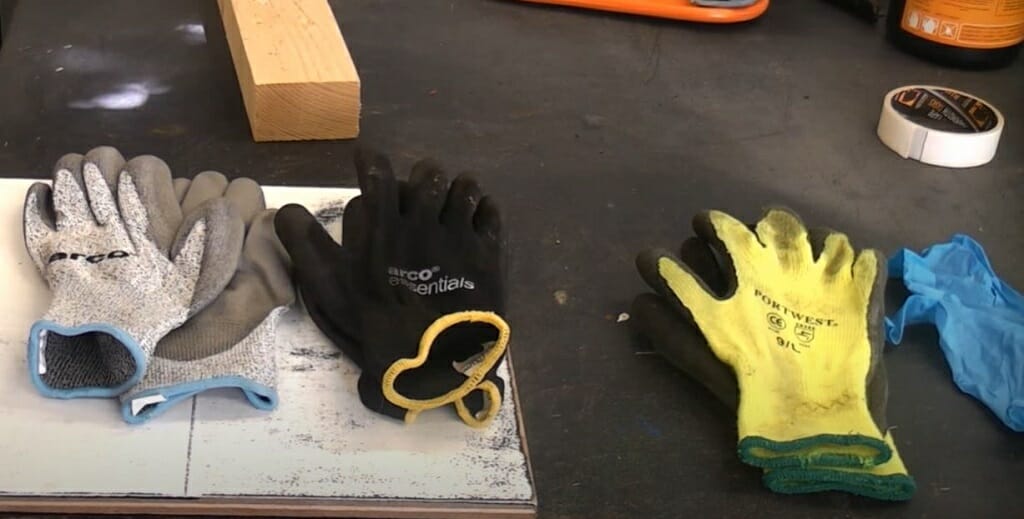
Next, wear the appropriate safety gear. For this kind of drilling process, safety gloves and glasses must be worn. Wearing safety gear will protect your hands and eyes.
Step 5 – Start the Drilling Process
Now you can start the drilling process. First, choose a suitable drill bit for the process. A hardened drill bit is a perfect option for this drilling process.
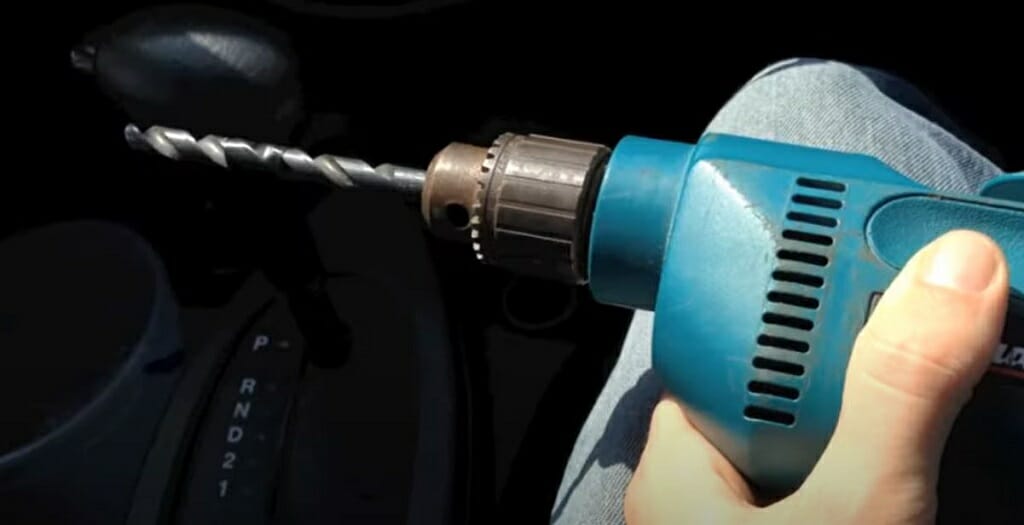
Hardened drill bits are made from cobalt. They are much stronger than titanium drill bits, and titanium is most suited for softer metal and wood. (1)

- Insert the drill bit into the drill chuck.
- Tighten the drill bit properly.
- Place the drill bit on the marked location.
- Start the drilling process slowly. Don’t force the drill into the ignition lock cylinder. Then, steadily increase the drilling speed.
- If needed, use WD-40 for lubrication.
- Continue drilling until you break the locking mechanism.
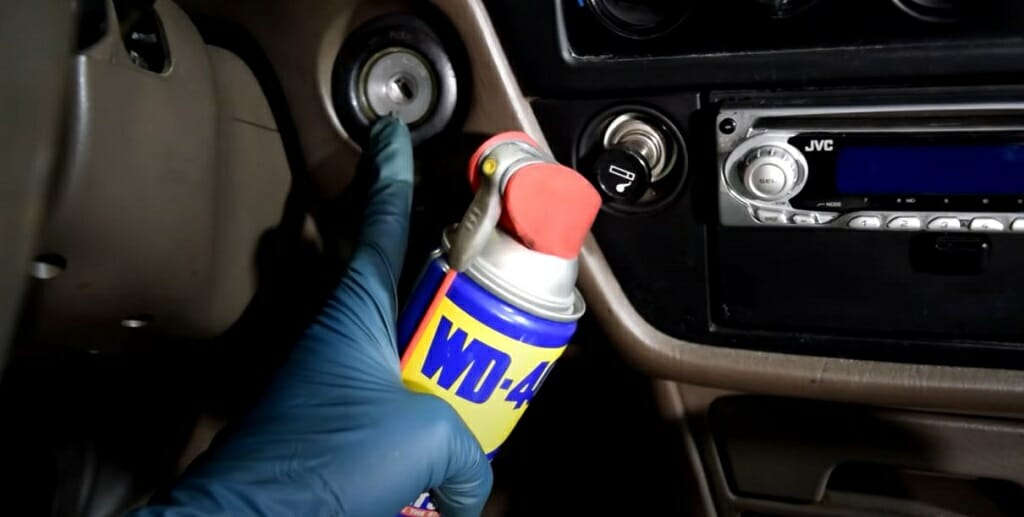
Note: WD-40 can remove corrosion and rust extensively.
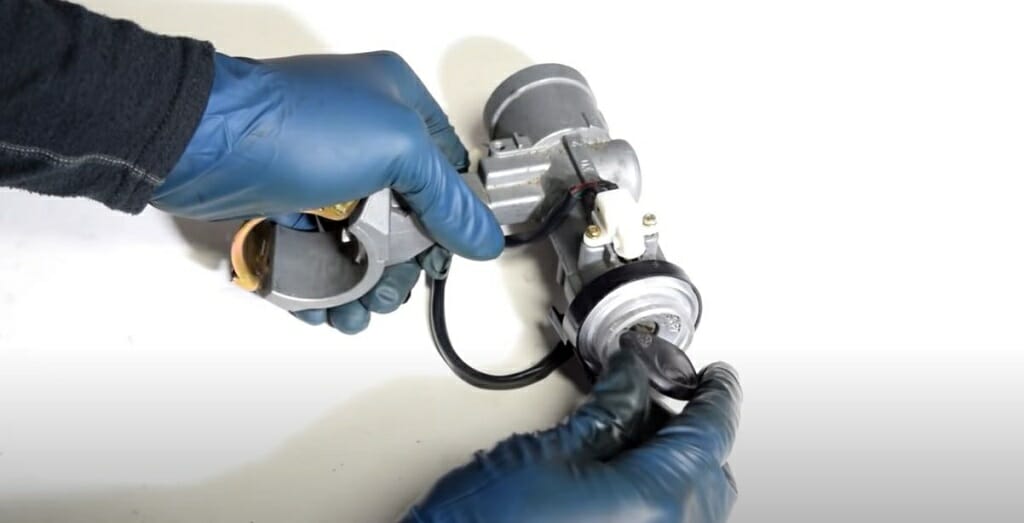
Step 6 – Pullout the Ignition Switch Lock Cylinder

After drilling through the locking mechanism, you can get the lock cylinder out. To do that, insert the key to the ignition switch.
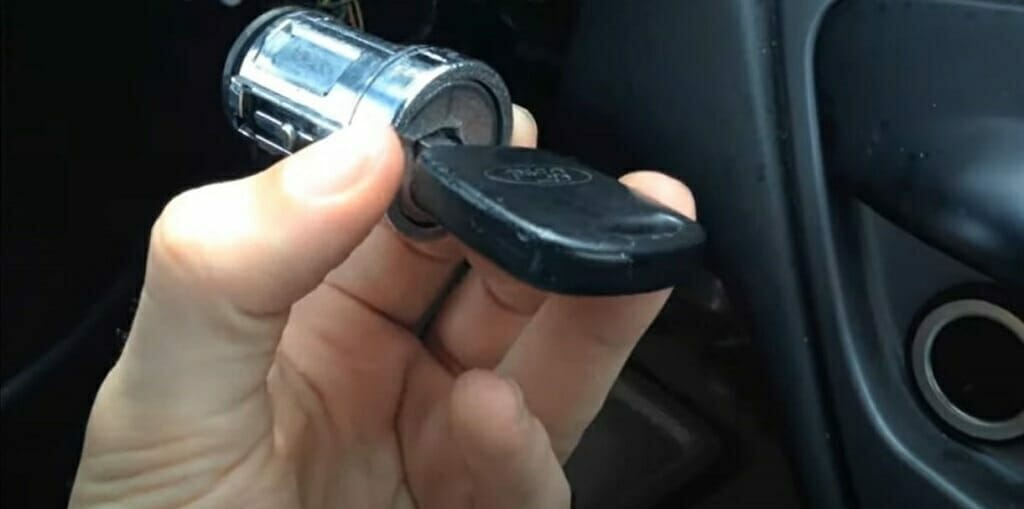
Then, pull out the ignition lock cylinder with the key. You can also use the flat screwdriver for this step.
In some instances, the lock cylinder might not come out easily. If that is the case, shuffle the ignition key a few times and try to pull out the cylinder.
Be mindful of: The ignition switch lock cylinder might connect wires. Disconnect them before completely pulling out the cylinder. Otherwise, you might end up damaging the wires.
Now you can install your new ignition lock cylinder without any problems.
Safety Tips for The Above Drilling Process
Even though it is crucial to get the job done correctly, your safety should be on top of your list. With that in mind, here are some safety tips that might save you from disaster.
- To protect your hand, always wear a pair of rubber gloves. A simple mislead can damage your hands. (2)
- While drilling, small metal parts might get inside your eyes. So, remember to wear proper safety glasses.
- Never start the above process while the main power supply is connected. Disconnect the battery from your vehicle.
- Always start with a slow drilling speed. If needed, increase the speed gradually. Unnecessary force and speed might damage the surroundings.
- Use hardened drill bits for this process. As I mentioned above, cobalt is the best option. The titanium drill bit might break under this kind of pressure.
- Applying too much force might burn the rotor located inside the drill motor. Replacing these parts might be expensive. So, avoid such a situation by any means necessary.
Take a look at some of our related articles below.
- How to wire fuel pump to ignition switch
- What is a step drill bit used for
- How to drill a hole in plastic
References
(1) titanium – https://www.thoughtco.com/titanium-facts-606609
(2) rubber – https://www.britannica.com/science/rubber-chemical-compound
Video References
Ratchets And Wrenches
mcedsonrunescape
Howcast
Ultimate Handyman