
12 min read
A Cozy Kentucky Barndominium With A Wood Stove Built For Under $155K (plan + costs)


Edited by: Louise (Editor In Chief)
Fact/quality checked before release.
Fact/quality checked before release.
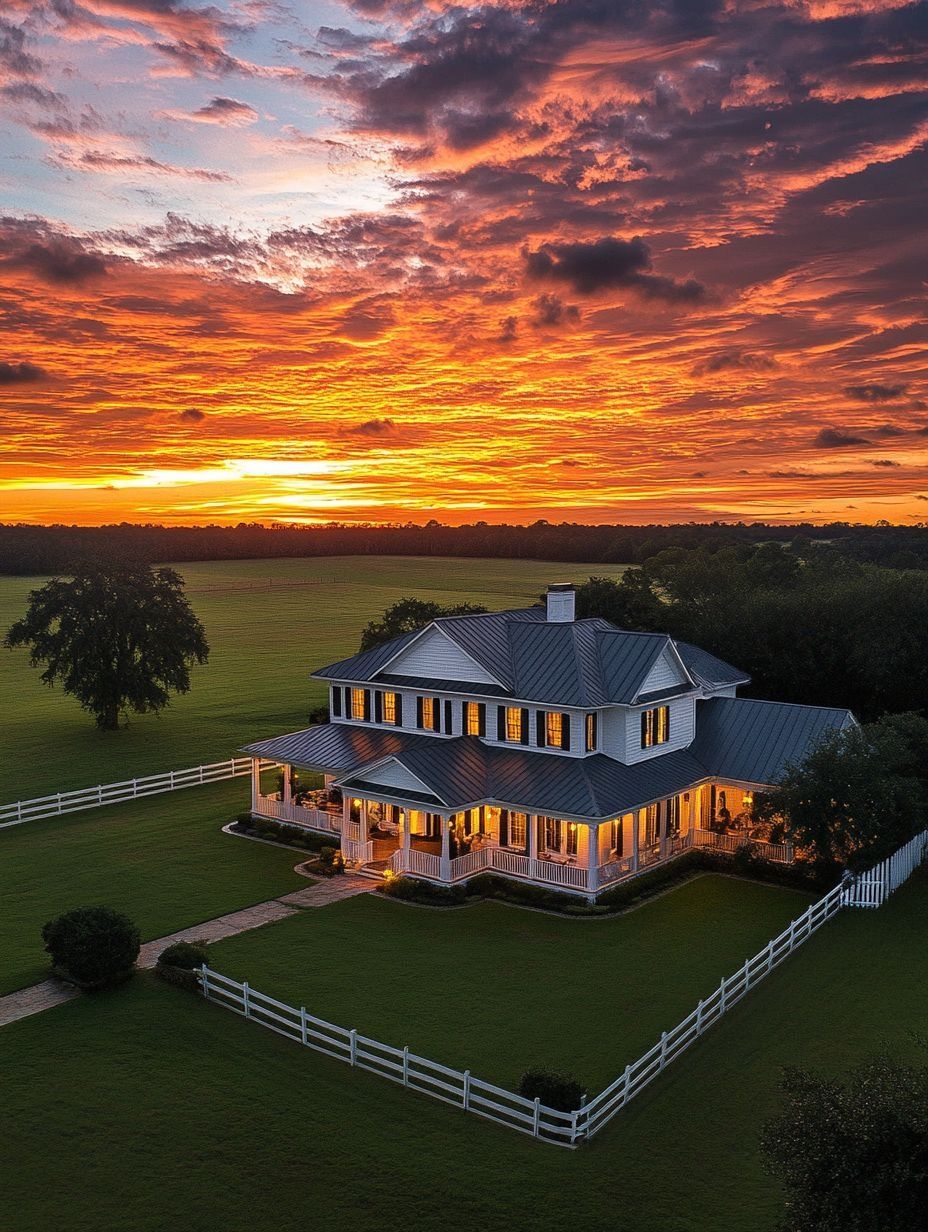
Picture this: you pull up a gravel drive, the sun’s dropping behind the trees, and you open the door to a warm, clean little barndo that smells like cedar and dinner. The wood stove’s doing that crackly thing, your boots are drying by the hearth, and you’re thinking… wait. This whole place was built for under $155K?
That’s what I’m walking you through. I’m gonna show you the size, layout, and budget targets, how the Kentucky site choice changed the whole game (utilities are no joke), what we did on the metal shell to keep costs down, and how we made the inside feel like “cabin cozy” instead of “cold shop with furniture.” We’ll get into the wood stove setup too, because heat is awesome but safety is non-negotiable. And yeah, I’ll talk timeline, DIY vs. hired help, and the stuff that almost blew the schedule up. Let’s roll.
The Build At A Glance: Size, Layout, And Budget Targets
I’m gonna start with the headline stuff, because that’s what everybody wants first: what you got for the money.
This Kentucky barndominium build lands in that sweet spot where it’s not a “tiny house experiment,” but it’s also not a mortgage monster. Think simple footprint, efficient rooms, and zero wasted square footage.
How The Floor Plan Was Designed For Everyday Comfort
My rule was: if I’m paying to heat it, cool it, and clean it, it better earn its keep.
So the floor plan leaned hard into everyday comfort:
- Open living, kitchen, dining right when you walk in. No skinny hallway maze.
- One main bedroom that’s big enough to breathe in, not just sleep in.
- A flex space that can be a bunk room, office, hobby room, whatever. Life changes, right?
- Laundry and storage placed where you actually use them.
And the wood stove? I planned the layout around it like it was the team captain. Because it is. If you stick it in a corner like an afterthought, you’ll always be fighting cold zones.
Quick story: I once stayed in a “cozy cabin” that had the stove shoved in the far end of the living room, like it got sent to time-out. The couch side was roasting and the kitchen side was basically Antarctica. I remember standing there in socks, holding a cup of coffee, and doing that awkward shuffle where you keep moving your feet because the floor is freezing. I promised myself, never again.
Where The $155K Went: Big-Ticket Costs And Smart Tradeoffs
I’m not gonna pretend $155K is pocket change. But it’s doable when you’re not trying to build a Pinterest palace.
Here’s where the big money usually goes, and what we did to keep it under control:
- Shell package (metal building + framing approach): we kept the shape simple. Fewer corners, fewer surprises.
- Slab foundation: not fancy, but solid and budget-friendly.
- Plumbing + septic: this is where people get punched in the wallet. Plan for it early.
- Electrical service + trenching: boring stuff, expensive stuff.
- Insulation + air sealing: I refused to cheap out here. If you do, you’ll “pay monthly” forever.
- Windows and doors: we picked efficient, not boutique.
Smart tradeoffs that helped:
- No wild rooflines. A simple roof is a happy roof.
- Less square footage, better finishes. I’d rather have a smaller place that feels good than a bigger place that feels like a garage.
- DIY where it made sense. Painting, trim, some interior work. Not electrical. I like my eyebrows.
If you’re chasing a under-$155K barndominium budget, your biggest weapon is honestly just saying “no” to extra complexity. It’s not glamorous, but it works.
Choosing A Kentucky Site: Land, Utilities, And Permitting Realities
Kentucky is gorgeous. Rolling hills, trees, space to breathe. But here’s the thing: the land can be affordable and still cost you a fortune once you start running utilities.
So when I picked a site, I wasn’t just looking for pretty. I was looking for practical.
What Made The Property A Good Fit For A Barndominium
A good barndominium site is kinda like a good haircut. If the base is wrong, you can’t fix it with styling.
What made this property work:
- Decent road access without needing to carve a mountain in half.
- A build spot that stayed dry. Water always wins, so don’t argue with it.
- Room for a simple driveway and turn-around. Concrete trucks don’t do tight little ballerina turns.
- Enough open space for solar gain and breezes, but still had trees nearby for shade.
Also, I paid attention to neighbors. Not in a creepy way. Just… you want to know if somebody is gonna run dirt bikes at 2 a.m. every Saturday.
Planning For Power, Water, Septic, And Driveway Costs
This is the part that sneaks up on people. You budget for the building, and then the land hits you with a chair.
Here’s what I planned for up front:
- Power: If the pole is far from the build site, trenching and wire can get pricey fast.
- Water: Well vs. public water changes everything. A well can be awesome, but it’s a real line item.
- Septic: Perc tests, layout, soil conditions. If the site can’t support a standard system, you’ll feel it.
- Driveway: Gravel isn’t just gravel. You may need fabric, base, culverts, grading.
Permitting in rural areas can be easier than in a big city, but don’t assume it’s “no rules.” Call the county. Ask questions. Be nice. The person on the phone can save you weeks of misery.
The Shell: Metal Building Decisions That Kept Costs Down
The shell is where the barndominium gets its superpower: speed and simplicity. But it can also become a money pit if you spec it like you’re building an airplane hangar.
My goal was a shell that’s tight, straightforward, and easy to finish inside.
Post-Frame Vs. Red-Iron: What Was Picked And Why
You’ll hear two common approaches for barndos:
- Post-frame (often wood posts, girts, and metal siding)
- Red-iron (steel rigid frames)
For a budget-focused build, post-frame can be a winner because it’s often less expensive and easier to modify for residential finishing. Red-iron can be amazing for big spans and commercial vibes, but you can pay more for the engineering and structure.
What mattered most to me:
- Can I finish the walls cleanly?
- Can I insulate it well?
- Can I run plumbing and electrical without crying?
- Can I get it built without a circus of delays?
So I picked the approach that matched the footprint and kept labor reasonable. No ego, just math.
Insulation, Windows, And Air-Sealing For Year-Round Efficiency
Here’s a truth a lot of people learn the hard way: metal buildings don’t forgive sloppy insulation.
I treated insulation and air sealing like it was part of the structure, not an add-on.
Key moves:
- Air sealing first. If you don’t stop air leaks, insulation is like wearing a sweater with holes.
- Right-sized windows. Natural light is great. But too much glass can cook you in summer and chill you in winter.
- Moisture control mindset. Warm air hitting cold metal equals condensation. And condensation equals trouble.
A tight shell makes everything else cheaper. Smaller HVAC. Better comfort. Less wood burned. Less “why is my floor freezing” drama.
Inside The Cozy Finish: Warm Materials And Durable Details
This is where the barndo stops feeling like a building and starts feeling like a home.
And look, “cozy” isn’t just blankets. Cozy is texture, warmth, and stuff that doesn’t feel fragile.
Flooring, Walls, And Ceiling Choices That Read “Cabin Cozy”
I wanted the inside to read cabin cozy without going full log-cabin theme park.
My go-to choices:
- Durable flooring that can handle muddy boots. LVP can look surprisingly legit if you choose the right tone and pattern.
- Warm wall colors and wood accents. Not orange wood everywhere. Just enough to soften the space.
- Ceiling detail that draws your eye up. A simple wood ceiling or beams can make a basic rectangle feel special.
And yes, I’m a fan of keeping it practical. If a finish makes you nervous to live, it’s not a good finish.
Kitchen And Bath Moves That Look Custom Without Custom Pricing
Here’s the cheat code: you don’t need custom everything. You need a few custom-looking moments.
Kitchen moves that helped a lot:
- Stock cabinets, but with hardware that feels intentional.
- A clean backsplash that’s easy to wipe down.
- Good lighting. Bad lighting makes even expensive kitchens look sad.
Bathroom moves:
- Simple tile patterns installed neatly. Fancy tile installed sloppy looks cheap.
- A solid vanity and a mirror that doesn’t look like it came from a dorm.
- Vent fan that actually vents outside. Not into the attic. Not “somewhere.” Outside.
I also kept the plumbing locations efficient. Moving drains around is like deciding to move your kitchen after you already bought the fridge. It gets expensive quick.
The Wood Stove Setup: Heat, Safety, And Placement
Alright, the star of the show: the wood stove.
A wood stove in a Kentucky barndominium is peak cozy. But it’s also a real appliance with real rules. You don’t just plop it down and start burning stuff like you’re in a movie.
Sizing The Stove For The Space And Kentucky Winters
Kentucky winters aren’t like northern Minnesota, but it gets cold enough that you want dependable heat.
Sizing is about the space and how tight the building is:
- If your shell is well insulated and air-sealed, you can often go smaller on stove size.
- If your ceilings are high and the layout is wide open, heat movement matters more.
I like a setup where the stove can comfortably hold the house on a normal winter day, and then your backup heat covers you when it’s extra cold or you’re gone.
Also, don’t ignore the boring part: wood storage. If you’re carrying wet logs across the living room, you’ll hate your life by January.
Chimney, Clearances, Hearth, And Insurance Considerations
This is where I get serious, fast.
Wood stove safety includes:
- Clearances to combustibles per the stove manufacturer. Follow the manual, not your buddy.
- Proper chimney system rated for the stove. Not improvised, not “kinda fits.”
- A real hearth with the right non-combustible materials and the right size.
- Smoke and CO detectors placed correctly.
And insurance: call your insurer early. Some companies want specific documentation, professional install, or photos. Don’t wait until you’re moved in and then find out they’re not cool with your setup.
One more thing: plan the stove placement so it actually heats the home. Center-ish is usually better than tucked away. Heat wants to travel. Help it out.
Mechanical Systems That Balance Comfort And Cost
People love talking about the wood stove, but the mechanical systems are what keep you comfortable when you’re tired, sick, or just not in the mood to babysit a fire.
I wanted a setup that’s efficient and realistic.
HVAC Strategy: When To Supplement With Mini-Splits Or Heat Pumps
For a budget-friendly barndominium, mini-splits can be a killer choice.
Why?
- They’re efficient.
- They’re zoned.
- They don’t require a big duct system.
In this build, the wood stove handles a lot of the “cozy heat,” and a heat pump or mini-split setup can cover:
- nights when you don’t want to feed the stove
- shoulder seasons when you just need a little heat
- summer humidity control (Kentucky will humble you)
The trick is not overcomplicating it. One well-placed unit can do a lot in an open plan.
Hot Water, Ventilation, And Moisture Control In A Metal Home
Metal buildings can get weird with moisture if you ignore ventilation.
My baseline approach:
- Reliable water heater sized for the household. Nothing fancy, just dependable.
- Bathroom exhaust fans vented outdoors.
- Kitchen ventilation that actually moves air.
- Dehumidification strategy if needed, especially in summer.
If you keep humidity under control, the whole house feels cleaner and you protect your finishes. And yeah, it also helps your wood stove experience because dry air and damp air behave differently.
Timeline, Labor, And DIY: How The Build Stayed On Track
Budgets don’t just get blown by materials. They get blown by time.
Every extra week you’re paying for something twice. Storage, rentals, loan interest, “temporary” fixes that become permanent. So I stayed kinda obsessed with sequencing.
What Was DIY, What Was Hired Out, And How Trades Were Sequenced
Here’s the line I draw: I DIY stuff that’s hard to mess up permanently.
DIY wins:
- painting
- trim work (if you’re patient)
- some flooring
- simple landscaping
Hired out:
- electrical service and main panel work
- plumbing rough-in (especially if it ties to septic)
- anything that could fail inspection and cost me big time
Sequencing mattered a ton:
- Site work and driveway access
- Slab and rough plumbing (if needed)
- Shell up and dried-in
- Rough electrical, plumbing, HVAC
- Insulation and air sealing
- Drywall or interior wall finishes
- Flooring, cabinets, trim
- Final fixtures and punch list
If you let trades trip over each other, you pay for it. Literally.
Common Delays And How They Were Avoided (Or Managed)
Stuff that causes delays on these builds:
- Weather (mud is a schedule killer)
- Material lead times (windows, doors, specialty items)
- Permit wait times
- Trades availability
What helped me manage it:
- ordering long-lead items early
- keeping the design simple so substitutions were easier
- doing the site access right so trucks could get in without drama
And when delays happened anyway, because they will, I had a list of “inside jobs” ready. If I couldn’t do exterior work that day, I could still paint, prep, seal, organize, or knock out trim. Staying busy sounds obvious, but it’s how a build stays alive.
Conclusion
Building a cozy Kentucky barndominium with a wood stove for under $155K isn’t about getting lucky. It’s about choosing boring, smart decisions again and again. Simple footprint. Practical site. Tight shell. Warm finishes that can take a beating. And a wood stove setup that’s installed like you actually want to sleep at night.
If you’re dreaming about doing something similar, start with two questions: How simple can I keep the building? And how expensive will it be to make the land livable? Answer those honestly and you’re already ahead of most people.
And hey, when you’re finally sitting there with that stove popping and the whole place glowing a little, you won’t be thinking about line items. You’ll just be thinking, yeah… this was worth it.