9 min read
How to Safely Hammer in Nails into Bricks (2 Methods)
Are you getting bored of your plain brick wall?
Brick walls are a lovely addition to any home, but what if you can do more? How about hammering in a nail to hang some decorations? You can even go big by attaching larger fixtures to it, like decorative boards and useful shelves.
There is no doubt that you can hammer nails into bricks, but the main concern is whether the brick will crumble in the process. Two possible methods are available to safely place nails into bricks without ruining their beauty.
Continue reading to learn more about these two methods.
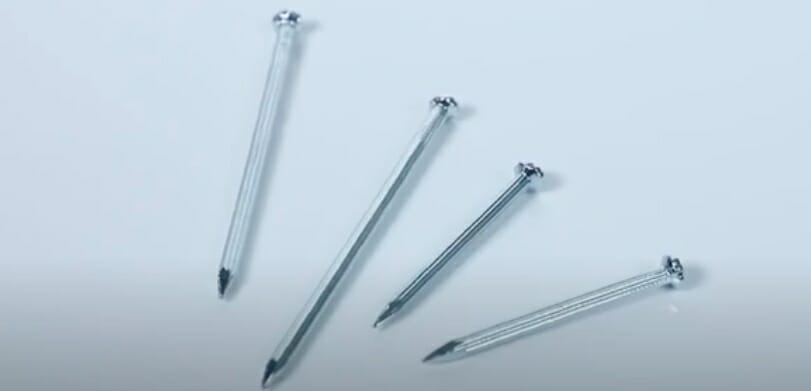
Masonry Nails for Small Projects
Masonry nails are designed to be used for concrete or brick walls.
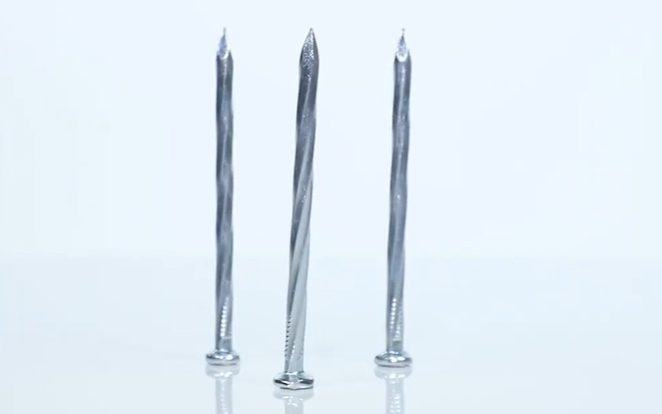
A masonry nail is made from hardened steel resistant to bending and breaking. It can usually be recognized for its groove, threaded, or spiral flutes, which assist in driving the nail. Its main function is to be embedded in between mortar joints to anchor or support objects.
A masonry nail is best used for small-scale projects such as hanging a picture frame.
Step 1 – Choosing the Right Masonry Nails
The general rule of thumb is to select nails that can penetrate about 1.25 to 1.5 inches (3.2 – 3.8 cm) into the wall.
Carefully measure the thickness of the brick wall. The nail should be able to drive deep enough through the wall without passing through the other side.
If applicable, include the thickness of the boards or other objects to be nailed when considering the type of masonry nails.
Step 2 – Mark Drill Hole Locations
Use a pencil to mark the spots to be nailed.
Masonry nails should only be installed into the mortar joints (the space between bricks or concrete blocks). This is because directly driving the nails into the bricks can cause them to crack or shatter.
If you’re planning to nail a wooden board to a brick wall, then mark the board instead.
Hold up the wooden board against the wall. Mark the locations of the holes to be drilled. There should be 18 to 24 inches (45.72 – 60.96 cm) of space between each hole. Ensure that the location of each hole is directly on top of the mortar joints.
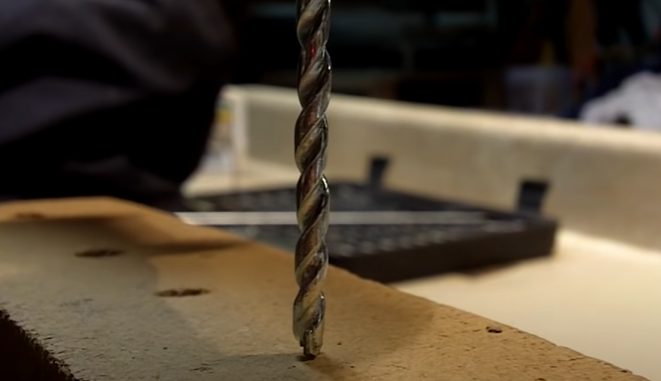
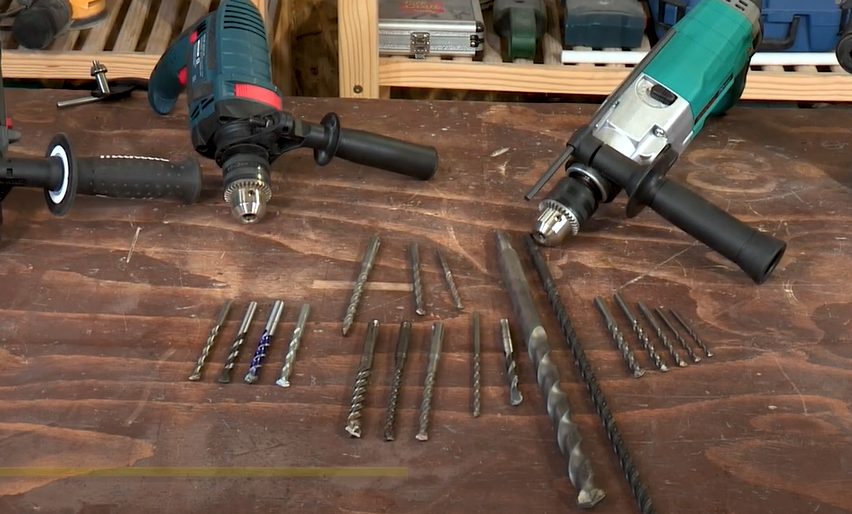
Step 3 – Drill the Holes with a Masonry Drill Bit
Prepare a masonry bit that has a slightly smaller diameter than the nail.
Keep the drill at a 90-degree angle to the wall, then gently push the drill bit into the marked location. Continuing drilling until the desired depth is achieved. Pull out the masonry drill bit while it is still rotating.
If affixing a board, drill through the board and into the brick wall. Keep the board steady to ensure that the holes are lined up.
Step 4 – Hammer in the Nails
Insert the nail into the drill hole and gently hammer it into place.
Ensure the nail is lined up to the hole and straight up. Use a hammer to drive the nail into the mortar. It should penetrate the mortar at least 1.25 inches (3.2 cm).
Drive the nail in until the head is flushed against the wall to affix boards and other objects into the wall.
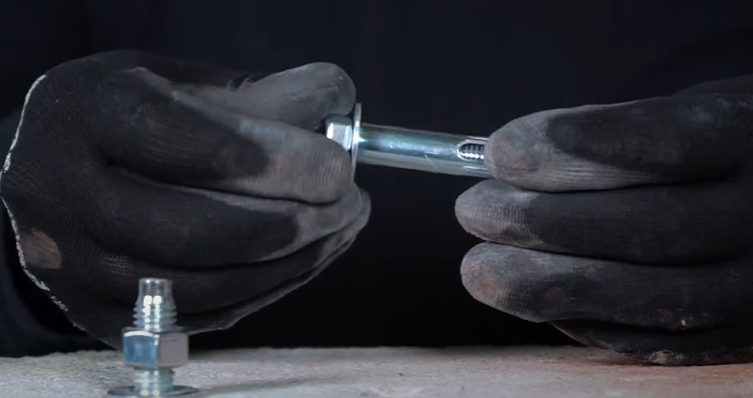
Sleeve Anchors for Heavier Objects
A sleeve anchor is a fastener that attaches objects to concrete or brick walls.
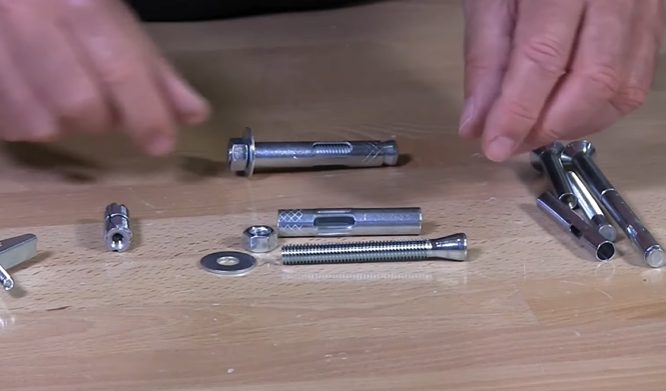
It consists of an anchor screw with a flared-out cone-shaped tip. The sleeve anchor is inserted into the concrete; then, the anchor screw is inserted to expand the sleeve outwards. Sleeve anchors come in plastic or metal forms.
Sleeve anchors are the material of choice for large-scale projects.
Step 1 – Choose the Right Sleeve Anchor
The type of sleeve anchor to use depends on the intended usage.
The cheaper plastic versions of sleeve anchors are durable enough to hold light materials together. But, for heavier decorations and materials, metal hardware remains the best choice. If you’re unsure which one to use for your project, the safe bet is to use a metal sleeve anchor.
To correctly choose the length of the sleeve anchor, take the thickness of the brick and object to be attached into account.
The typical measurement uses a 0.5 inches (1.27 cm) anchor diameter to extend at least 2.25 inches (5.72 cm) into the wall. You can opt to follow this same ratio or approximate the needed length by measuring the combined thickness of the object and the wall.
Step 2 – Mark Drill Hole Locations
Sleeve anchors are unique since they can be installed in the mortar joints or directly onto the brick face.
Space between each anchor is the most important factor when planning the drill hole locations. The sleeve anchor puts an incredible amount of stress onto the bricks. Placing them too near each other causes the brick to slowly deteriorate due to stress.
The required distance between each pair of anchors is ten diameters of space.
To illustrate, the amount of space needed by a 0.5 inches (1.27 cm) anchor is simply 10 x 0.5 inches = 5 inches (12.7 cm).
The required distance between an anchor and the edges of the material to be attached is five diameters of space.
Step 3 – Drill the Holes with a Hammer Drill
The size of the masonry bit should be the same diameter as the anchor.
The depth of the drill hole needed is usually listed on the product information of the anchor sleeve. Certain anchor sleeves need to be at an exact depth. If no such information is found, drill 0.5 inches (1.27 cm) deeper than the length of the sleeve anchors.
Drill through the object (if there’s any) and the brick surface until the needed depth is reached.
Step 4 – Clean Out the Hole
Immediately stop if you notice excessive dust and debris from the drill hole. (1)
Retract the hammer drill and keep the hole empty. Clean the drill hole using compressed air or hose it down with water. If you opt for the latter, keep rags around to clean up the area.
Resume drilling once there is no more debris.
Step 5 – Install the Anchor Sleeves
Push the anchor sleeve into the drill hole.
It should stay firmly inside without rotating or turning. Gently tap the anchor sleeve with a hammer until it is flushed against the surface. Then insert the bolt through the center of the sleeve.
Step 6 – Tighten the Anchor Screws
Tighten the anchor screw until it is at the end of the sleeve.
Use the proper wrench or screwdriver to turn the anchor screw. The turning action pushes the sleeve outward to grip the sides of the hole. Keep turning the anchor screw until it is firmly fitted to the brick surface.
Tips & Tricks for Hammering a Nail into Brick
Now that you learned the answer to can you hammer a nail into a brick, here are some tips and tricks to keep in mind.
The usual concern when hammering nails into brick is not having the correct masonry bit size.
A good alternative is to use drill bit sizes smaller than the masonry nails or sleeve anchors. The drill hole can still expand as the material is hammered into the brick. Simply swing the hammer with enough force to drive the material into the smaller hole.
Make sure to avoid using a larger drill bit size as it is harder to seal a hole than to expand it.
Dust and debris produced by drilling through bricks are dangerous substances to inhale. (2)
Keep yourself safe by wearing the correct safety equipment. Fitted goggles and a good dust mask (preferably N95 quality) are enough for this project. Another method to remove dust and debris is regularly hosing down the area. Exposure to water makes the particles heavier and stops them from floating in the air.
Take a look at some of our related articles below.
- How to hang picture on brick wall without drilling
- How to stop water hammer in sprinkler system
- Can you drill holes in apartment walls
References
(1) excessive dust – https://www.ncbi.nlm.nih.gov/pmc/
articles/PMC6422576/
(2) dangerous substances – https://osha.europa.eu/en/themes/dangerous-substances
Video References
Chunlei Zhang
seejanedrill
Albany County Fasteners
BuildersSA