
11 min read
A Simple Michigan Barndominium With A Heated Garage Built For Under $230K (plan + costs)


Edited by: Louise (Editor In Chief)
Fact/quality checked before release.
Fact/quality checked before release.
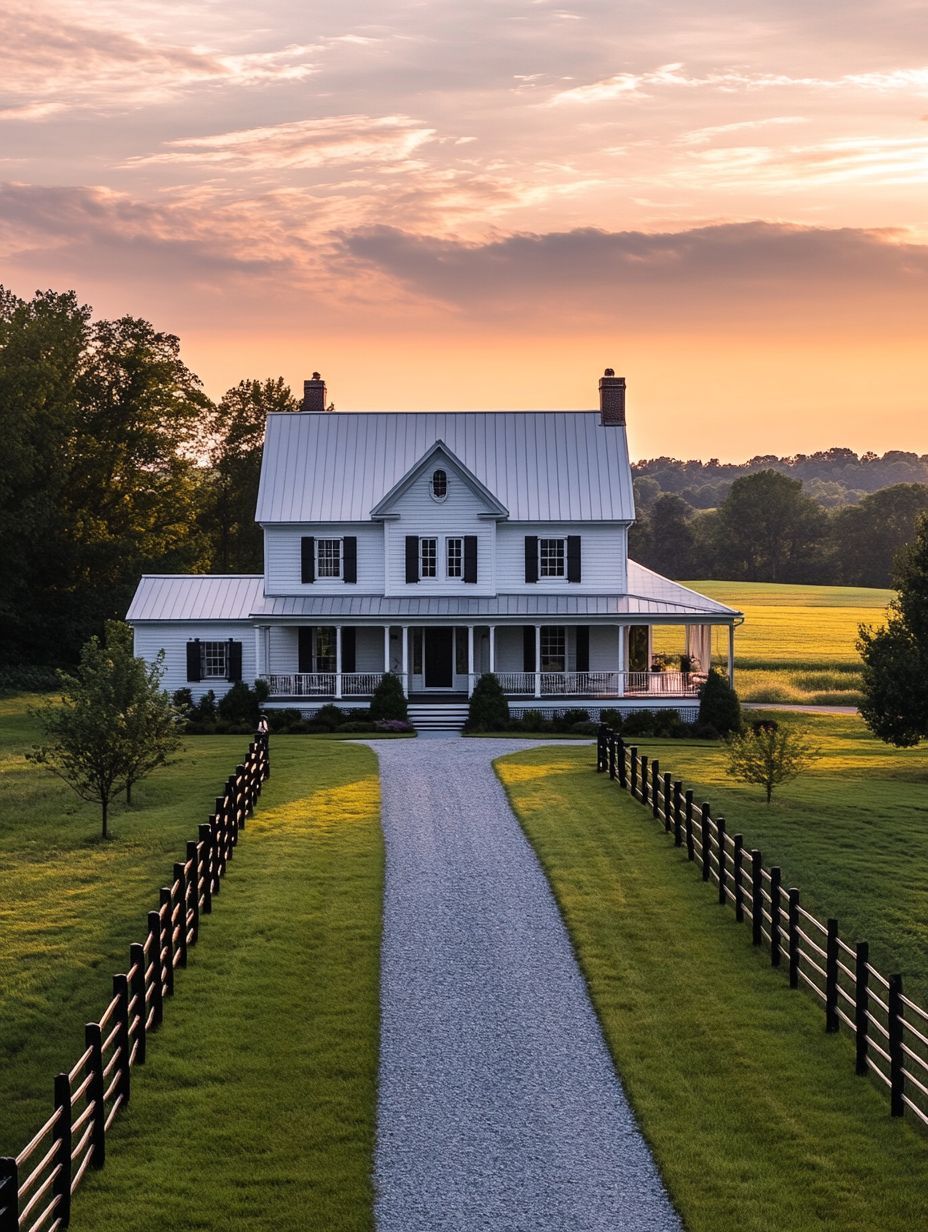
Picture this: it’s February in Michigan. Snow’s coming in sideways, your boots are soaked, and your car is basically a rolling salt lick. Now imagine you pull into a heated garage, shut the door, and everything just… works. Warm. Dry. No frozen door handles. No slipping around on ice you dragged inside.
In this text, I’m gonna walk you through a simple Michigan barndominium with a heated garage built for under $230K. Not “under $230K if you already own land, have a cousin who’s an electrician, and got free windows from a demolition site” either. I mean a real-world breakdown: the size, the layout, where the money went, what I’d do the same, and what I’d do different if I had to build it again. We’ll talk Michigan weather (snow load, ice, condensation), garage heat options, clean-air safety, and the budget gotchas that sneak up on you like a surprise frost in October.
And yeah, I’ve got a quick story in here about the day I learned the hard way why ventilation in a heated garage is not optional. Stick with me.
Project Snapshot: Size, Layout, And What “Under $230K” Includes
Let me set the stage. When I say simple, I mean it in the best way. Simple is cheaper. Simple is faster. Simple is easier to heat. And in Michigan, simple is less stuff that can leak, freeze, or rot.
This is the kind of barndominium you build when you want a comfortable home plus a legit heated garage, without trying to impress anybody on Instagram.
Floor Plan At A Glance: Living Space Plus Heated Garage
Here’s the basic setup I like for this budget:
- Living space: about 1,200 to 1,400 sq ft
- Heated garage/workshop: about 900 to 1,200 sq ft (think 2.5 to 3 bays, plus workbench space)
- Layout idea: rectangle footprint, house on one side, garage on the other, with a mudroom or mechanical room acting like the “buffer zone.”
If you’ve never lived with a mudroom in Michigan… whew. It’s not a luxury. It’s survival. Snow pants, wet gloves, dog towels, all that chaos needs a landing zone.
Itemized Cost Buckets: Shell, Interior, Mechanical, And Site Work
Every build is different, but to hit under $230K, I think in buckets. Here’s a realistic-ish split (not a promise, just a solid planning tool):
- Shell (kit + erection + roof/siding): $80K–$110K
Includes the metal building package, labor to stand it up (unless you’re doing it), and basic exterior.
- Interior build-out (framing, drywall, flooring, kitchen, baths): $55K–$80K
This is where people blow budgets with fancy cabinets and “just one more upgrade.”
- Mechanical (HVAC, electrical, plumbing): $35K–$55K
Heated garage adds cost here, but it’s worth it if you do it smart.
- Site work (foundation, septic/well or water tap, driveway, trenching): $25K–$60K
This bucket is the wild one. Site costs don’t care about your feelings.
So yeah, “under $230K” usually means you’re keeping the footprint clean, picking value finishes, and you’re not doing a bunch of custom rooflines and fancy structural gymnastics.
Why This Barndominium Works In Michigan’s Climate
Michigan will test your building. Not in a cute way. In a “freeze-thaw, ice dam, wind-driven snow, and surprise mud season” kind of way.
A barndominium can work amazing here, but only if you respect the basics. Metal buildings aren’t magic. They’re just a system. And if you mess up the envelope, they’ll punish you.
Snow Load, Roof Pitch, And Ice Management Basics
First, snow load. In Michigan, your required roof snow load depends on your county and local code. Don’t guess. Your engineer will size it.
A few practical tips I’ve learned:
- A steeper roof pitch helps shed snow, but it’s not a free pass. Snow can still drift and load up.
- Overhangs matter. A small overhang can help keep water off walls and keep entry doors less miserable.
- Ice management is a whole strategy. Good attic ventilation (if you have an attic), good insulation, and clean gutters if you use them. Ice dams come from heat loss, not just cold weather.
If you want the simple win? Build tight. Insulate right. Don’t let warm air leak into cold roof spaces.
Insulation, Air Sealing, And Condensation Control In Metal Buildings
Condensation is the sneaky villain in barndominiums. Warm moist air meets cold metal, and boom, you’ve got water where you didn’t order it.
Here’s what I prioritize:
- Air sealing first. Before you throw insulation at the problem, stop the air leaks. Penetrations, seams, corners, around windows.
- Good wall and roof insulation. Many folks use a combo like fiberglass batts + a smart vapor retarder, or spray foam in key spots. I’m not here to start an insulation war, but I am here to say: pick a system and detail it correctly.
- Control indoor humidity. Bath fans that vent outside, a range hood that actually goes outside, and don’t skip ventilation just because it’s “a metal building.”
If you ever walked into a building and smelled that damp, cold metal smell? That’s your warning sign.
Heated Garage Design: Comfort, Efficiency, And Clean Air
Let’s talk heated garage, because honestly this is the whole love story. A heated garage in Michigan is like having a superpower.
But you’ve gotta heat it safely. You also want it to be comfy without burning cash all winter.
Quick story: years ago, I was helping a buddy in his garage, door shut, heater blasting. We were “just running the car for a second” to move it. Next thing I know, I’ve got a headache, he’s acting weird, and we’re both getting snappy for no reason. Classic. We opened the big door and it hit me: we were basically marinating in fumes. Not proud of that day. But I remember it forever.
Heat Source Options: Unit Heater, Radiant Floor, Or Mini-Split
You’ve got three common options, and each has a personality.
- Gas unit heater (hanging):
Fast heat, common, usually the budget-friendly install. Great for “I want it warm now.” But it can stir dust and needs good venting.
- Radiant floor heat (in-slab):
This is the luxury-feeling option that can still be efficient. Warm floor, steady comfort, less air movement. But it’s planning-heavy. Once the slab is poured, changes are painful.
- Mini-split heat pump:
Efficient for shoulder seasons and mild cold, and it gives you cooling too. But Michigan cold snaps can push it depending on the model. Many people pair it with another heat source.
If I’m trying to stay under budget? I lean unit heater for the garage, and spend extra effort on insulation and air sealing so I’m not heating the outdoors.
Ventilation And Fume Control: CO Safety And Pressure Balancing
This is not optional. Heated garages can trap fumes, and that’s a scary deal.
What I do:
- Install a CO detector rated for garage use (and one inside the house too). Put it where it makes sense, not buried behind stuff.
- Air-seal between garage and living space. Treat that wall like it’s the outside. Because functionally, it is.
- Use an exhaust fan if you’re doing real shop work. Welding, painting, idling engines, even snowblower tinkering. You want the ability to kick bad air out.
- Mind pressure. If the garage is pushing air into the house, you’ll smell it. Ideally, keep the garage slightly negative or at least not pressurizing toward the living area.
Durable Finishes For Salt, Slush, And Wet Gear
Michigan winter brings salt. Salt destroys everything, like it’s personal.
My garage durability short list:
- Epoxy or polyaspartic floor coating (or at least a good sealer) and a floor drain if allowed by code and septic rules.
- PVC trim or moisture-tough baseboards in the mudroom zone.
- Metal wainscot or durable wall panels where wet gear and shovels bang around.
- A real boot tray and wall hooks. Sounds small. It’s not. It keeps the mess contained.
Keeping Costs Down Without Cutting Corners
This is where the build either stays under $230K or starts drifting into “how did we get here?” territory.
I’m not against nice stuff. I like nice stuff. But I like finishing the project more.
Simplifying The Footprint: Spans, Corners, And Standardized Openings
Want the biggest cost hack that still feels like a solid home? Keep the shape simple.
- Rectangles are your friend. Every bump-out adds framing, flashing, roofing complexity.
- Standard truss spans cost less than custom engineered gymnastics.
- Fewer corners = fewer leaks. That’s not just money, that’s long-term sanity.
- Standard door and window sizes are cheaper and faster to source.
It’s kind of like cooking. If you start with good ingredients, you don’t need 37 spices.
Value Picks For Windows, Doors, And Siding Details
You can spend a fortune here. Or you can make smart picks and still have it look sharp.
- Windows: pick a reliable mid-grade vinyl window with good ratings, and don’t go crazy on custom shapes.
- Doors: spend money on the overhead garage doors (insulated, good seals). That’s a comfort upgrade you’ll feel every day.
- Siding/metal details: keep colors simple, skip fancy trim packages unless you really care.
One thing I’ll say: don’t cheap out on weatherstripping. That’s like buying a winter coat with a broken zipper.
DIY-Friendly Tasks Versus What To Hire Out
If you’re trying to make the numbers work, some DIY can help. But not all DIY is worth it.
DIY-friendly (for a capable, patient human):
- Painting
- LVP flooring install
- Basic trim
- Cabinets if you’re using RTA and you’re careful
- Hanging shop walls and organizing the garage
Hire out (usually):
- Electrical service and panel work
- Gas piping
- Septic and well
- Anything structural you’re not 100% confident about
Saving money is great. Failing inspection is not great. Ask me how I know… yeah.
Site, Permits, And Utilities In Michigan: Budget Gotchas To Plan For
If people blow the budget, it’s often not because of the kitchen faucet. It’s because the site had surprises.
Michigan lots can be gorgeous. They can also be sandy, clay-heavy, wet, or basically a hidden swamp in spring.
Foundation Choices: Slab, Frost-Protected Slab, And Drainage
For barndominiums, slabs are common. But Michigan frost is no joke.
Options you’ll hear about:
- Slab with frost footings: traditional approach, dependable.
- Frost-protected shallow foundation (FPSF): can work well when designed right, using insulation to manage frost.
The non-negotiable piece is drainage:
- Grade the site so water runs away from the building
- Use gravel and proper compaction
- Add gutters/downspouts (yes, even on a barn-style build) and move water away
Water is patient. It will find the one weak spot.
Well, Septic, Electric, And Driveway Costs That Move The Needle
These costs can swing your whole plan:
- Well depth and soil conditions can change price fast.
- Septic system type (standard vs mound) can be a huge difference depending on perc tests.
- Electrical service distance from the road matters. Trenching isn’t free.
- Driveway length and base prep in Michigan is a big deal because freeze-thaw will wreck a flimsy driveway.
My advice? Before you finalize your barndominium plan, get at least rough numbers from local contractors. Otherwise you’re budgeting with vibes.
Build Timeline: From Design To Move-In
People always ask, “How long does it take?” and I wanna be honest: it depends. But I can give you a realistic flow so you’re not guessing.
Pre-Construction: Design, Engineering, And Ordering The Kit
This part feels slow, but it’s where you win.
- Design + floor plan tweaks: 2–6 weeks (or longer if you keep changing your mind, which… yeah, happens)
- Engineering + snow load specs: 2–6 weeks
- Permits: varies by township/county, could be quick or could be a whole saga
- Ordering the building kit: lead times can be several weeks to a few months depending on suppliers and season
If you’re building in Michigan, try not to start the whole process in late fall and expect magic by January. Winter builds are doable, just harder.
Construction Phases: Shell, Rough-Ins, Inspections, And Finishes
A common sequence:
- Site prep + foundation (days to weeks)
- Erect the shell (often surprisingly fast once materials are there)
- Roof tight + windows/doors
- Rough electrical/plumbing/HVAC
- Insulation + drywall
- Finishes (this is where time disappears)
- Final inspections + punch list
If you’re organized and not doing a ton of custom work, a 6–10 month start-to-finish timeline is possible. If you’re DIY-heavy, add time. Life happens.
Conclusion
A simple Michigan barndominium with a heated garage under $230K is doable, but it’s not an accident. It’s a bunch of smart decisions stacked on top of each other.
If I had to boil it down to my “do this first” list:
- Keep the footprint simple and the openings standard
- Spend on insulation, air sealing, and garage doors you can actually feel
- Treat the garage like a separate zone with real fume control
- Price your site work early, because that’s where budgets go to die
And honestly? The heated garage is the sneaky best part. In Michigan, it’s not just comfort. It’s time saved, stuff protected, and one less daily winter battle.
If you want, tell me your rough county/location and your target square footage. I can help you sanity-check the biggest cost drivers before you fall in love with a plan that’s $40K out of reach.