
11 min read
How to Clean a Kitchen Exhaust Fan in Under 15 Minutes: Quick and Easy Tips


Edited by: Louise (Editor In Chief)
Fact/quality checked before release.
Fact/quality checked before release.
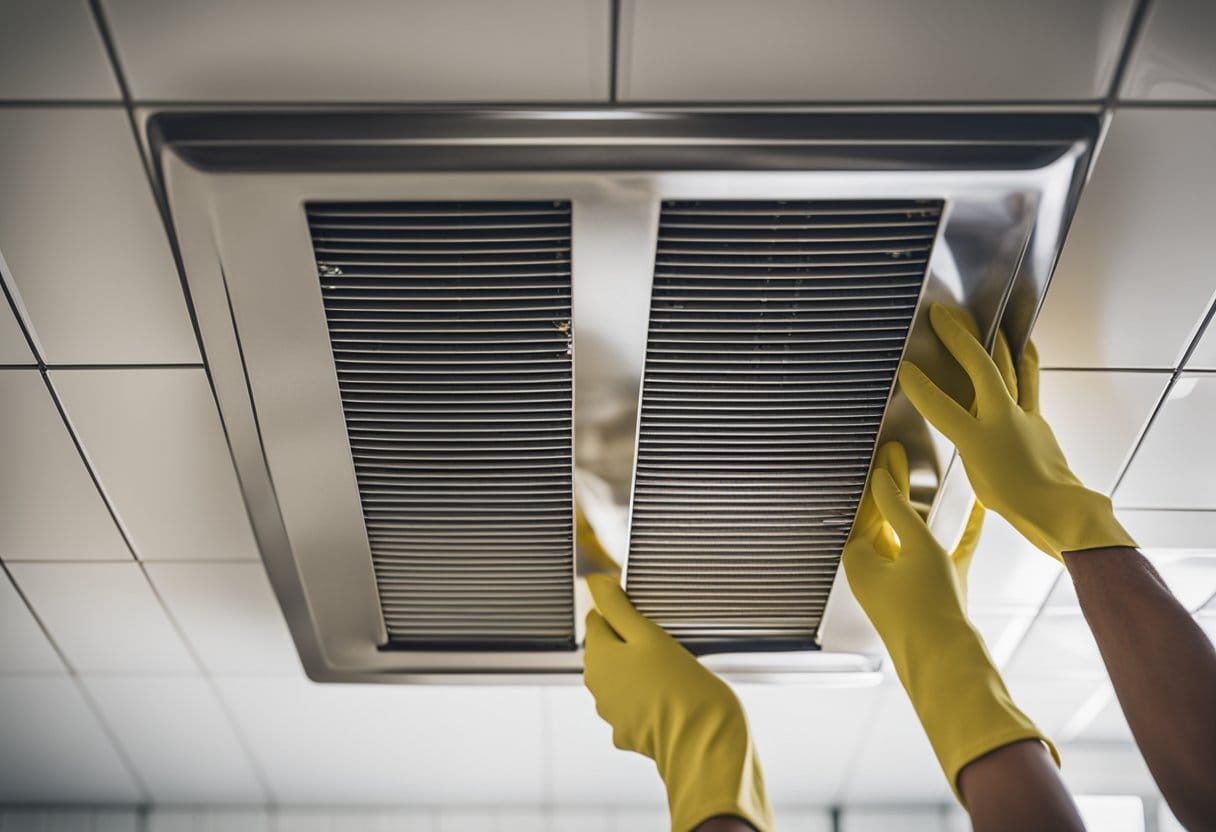
You’re standing in your kitchen, and you can barely see the shiny gleam of your stovetop because of a pesky layer of grease on your exhaust fan. Don’t worry—you can tackle this sticky situation in under 15 minutes! With just a few basic supplies and easy steps, you’ll not only clean your kitchen but also keep it fresh and inviting. This means spending less time scrubbing and more time enjoying the things you love.

Picture this: no more kitchen mess from endless scrubbing and no more dreading this cleaning chore. By regularly cleaning your exhaust fan, you’ll maintain a cleaner environment and prevent buildup that could lead to nastier issues down the line. Just soak those filters in hot, soapy water or use a bit of baking soda for an extra kick. In no time, your fan will look new, and you’ll have a kitchen that breathes free from clouds of grease.
So, if you’re ready for a quick, mess-free routine that’s as efficient as it is effective, you’re in the right place. Keep reading to discover how easily you can tackle this task. Say goodbye to grime and hello to a spotless kitchen!
Safety First: Preparing to Clean
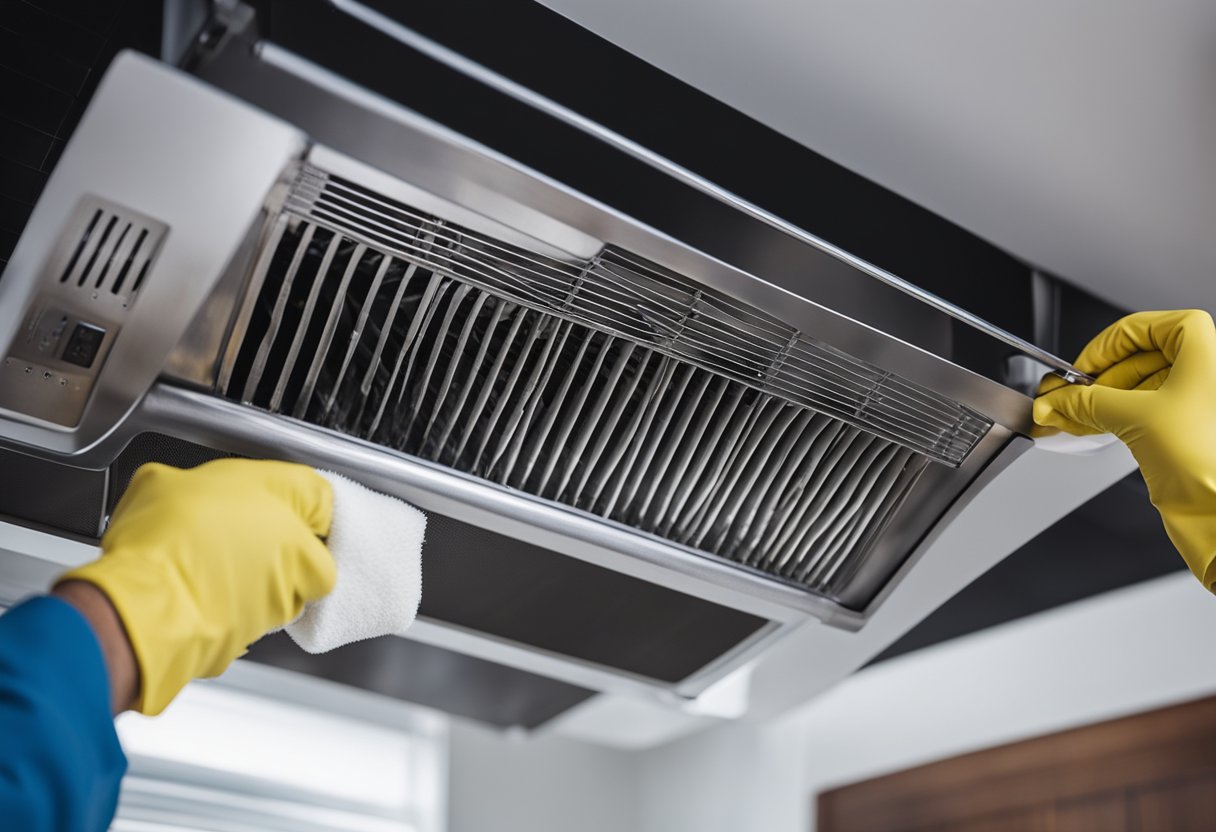
Before diving into the cleaning process, safety is your top priority. Start by cutting off the power supply to your range hood. This step is crucial to avoid any accidents while you’re working.
Make sure to wear protective gear, like rubber gloves and safety goggles. These will keep your hands safe from harsh chemicals and protect your eyes from dust or particles.
You’ll need the right tools for the job. Have your soft microfibre cloth, degreaser, and a screwdriver on hand. These tools will make your job easier and help you avoid unnecessary mess.
It’s also a good idea to cover your stove and countertops with an old towel or newspaper. This keeps any drips or splashes from creating extra cleanup work.
Finally, ensure you have proper ventilation. Open a window or turn on a fan so that any fumes from cleaners don’t overwhelm you. A well-ventilated space will make the process more comfortable.
Remember, preparation is key to a quick, safe, and effective cleaning session!
Tools and Materials

Cleaning your kitchen exhaust fan efficiently in under 15 minutes is all about having the right tools and materials at your fingertips. Let’s break down what’s in your cleaning toolkit, making this quick and mess-free.
Choosing the Right Cleaning Agents
First up, you’ll need the right cleaning agents to get the job done. Baking soda and vinegar are amazing options for breaking down stubborn grease. Mix them into a paste for easy application.
For those shiny metal surfaces, a stainless steel cleaner can really make the metals gleam. It’s perfect for cutting through grease while leaving a streak-free finish.
Don’t overlook items you already have at home. Liquid dish soap is effective for loosening up light grease build-up. Combine that with warm water, and you’re ready to tackle those fan blades and hoods without a hitch.
Gathering Your Equipment
Gather the essential equipment before you start. A soft cloth is perfect for wiping and won’t scratch surfaces. Grab a scrub brush or sponge for scrubbing away any grease that’s put up a fight.
A small bucket or bowl will come in handy for soaking removable parts like the fan cover and filter. Fill it with hot, soapy water to efficiently loosen grime.
Finally, make sure you have a step stool if you need an extra boost to reach higher areas safely. Having everything within arm’s reach ensures you won’t waste precious time scrambling for a missing tool.
Initial Steps for a Clean Start

Cleaning a kitchen exhaust fan quickly and efficiently starts with addressing loose debris and detaching essential parts for a thorough process. Following these initial steps sets the foundation for a cleaner and more manageable task.
Removing Loose Debris
Get right into the groove by first clearing away any loose debris. Use a cloth or brush to sweep off surface dust and grime. It’s essential to eliminate this first layer of dirt to avoid creating a mess when you advance to deeper cleansing.
Then, grab a vacuum with a nozzle attachment, expertly whisking away debris. This step not only tidies up but also preps the fan for further cleaning steps involving degreasing and scrubbing. An all-purpose cleaner can be lightly sprayed on stubborn areas, but ensure the fan is powered off. This ensures safety while facilitating ease in removing the initial layer of dirt.
Detaching Removable Parts
After brushing off debris, focus on removing removable parts like filters and fan covers. These are often nesting grounds for grease and grime, which means they need individual attention outside the unit. Follow manufacturer instructions to carefully take them off.
Once removed, fill a basin with hot, soapy water and leave the parts to soak. Degreasing agents can enhance outcomes but read labels to ensure compatibility with materials. This soak loosens stubborn grease, making subsequent cleaning more effective. After soaking for about 10 minutes, wipe with a soft sponge or cloth, finishing with a rinse to obliterate all soap residue before air drying.
By following these steps, you’re setting yourself up for an efficient clean that requires minimal elbow grease.
Deep Cleaning the Filter

Cleaning your kitchen exhaust fan filter might seem daunting, but it’s all about the right techniques. Soaking in a warm solution will loosen the grime, while effective scrubbing methods ensure a pristine finish.
Soaking the Filters
Start by removing the filters from the exhaust fan. To prepare the soaking solution, fill a basin or large sink with hot water. Add one cup of baking soda and a few tablespoons of dish soap. Mix until dissolved.
Submerge the filters in this solution for about 10 to 15 minutes. This step is crucial as it helps break down the greasy build-up. If the filters are particularly grimy, you can also add a half cup of vinegar to boost the degreasing action.
Patience pays off here. The longer they soak, the less scrubbing you’ll need later. Ensure the filters are fully submerged, allowing the solution to penetrate every corner.
Scrubbing Techniques
After soaking, it’s time to scrub those filters. Use an old toothbrush or a non-abrasive scrubber to gently scrub away any remaining residue. Focus on the corners and edges where grease tends to accumulate.
If stubborn spots remain, sprinkle a bit of baking soda directly onto the filter and scrub again. The mild abrasive nature of baking soda is gentle yet effective on metal surfaces.
Rinse thoroughly with running water to remove any soap or baking soda. Let the filters air dry completely before reinstalling them in the exhaust fan. Ensuring they are dry prevents any potential for rust or damage. Keep the cycle going by repeating this deep clean every few months, and you’ll have sparkling clean filters with minimal effort!
Degreasing the Exhaust Fan and Range Hood

Cleaning your kitchen exhaust fan doesn’t have to be a daunting task! Grab some simple household items like baking soda and vinegar, and you’ll have everything you need to tackle grease without the mess.
Applying Cleaning Solutions
To start, you’ll need a degreasing solution. Pour some vinegar into a clean spray bottle—this natural cleaner cuts grease like a champ. Alternatively, you can opt for a commercial degreaser, but you might already have enough at home.
Spray the vinegar generously over the exhaust fan’s greasy surfaces. If you’re using baking soda, make a thick paste with water and spread it over stubborn greasy areas. Let it sit for a few minutes to break down the grime and make your job easier.
Pro Tip: If you’re dealing with heavily greasy filters, try submerging them in a sink filled with hot, soapy water. This can be a game-changer for those tougher spots, letting the solution work its magic before you scrub.
Wiping Down Surfaces
Once your degreasing solution has had time to work, grab a soft cloth and start wiping down. Begin with the fan blades, using gentle pressure to avoid damaging delicate parts. A microfiber cloth can give you the best results, grabbing grease without leaving behind streaks.
For range hoods, use the same cloth to cover the entire surface. Keep in mind that these areas might need a bit more elbow grease, so don’t be afraid to apply some pressure. If some spots are being stubborn, consider using a little extra baking soda paste directly on your cloth.
Make sure the cloth stays clean by rinsing it as you work. A clean cloth helps prevent moving grease around instead of removing it. When you’re done, step back and admire that shine you’ve brought back to your kitchen!
Shining Up Stainless Steel
Ready to make that stainless steel sparkle? Here’s a quick guide to make it shine in no time!
First, gather your cleaning arsenal: a soft microfiber cloth, warm water, and some mild dish detergent. For stubborn smudges, vinegar can be your secret weapon.
-
Mix it up: Combine a few drops of dish detergent with warm water. Use this mixture to wipe down the surface. The detergent helps remove grease without scratching.
-
Rinse and dry: Rinse your cloth, wring it out, and wipe the surface again to remove any detergent residue. Then, use a dry cloth to buff the area, bringing back the natural shine.
For a professional touch, grab a dedicated stainless steel cleaner. Just a small amount on your cloth can work wonders on fingerprints and smudges.
- Tip: Always rub stainless steel in the direction of its grain to avoid any marks.
A final touch with a bit of diluted vinegar can add extra shine, leaving your kitchen looking fresh and clean. This quick routine is perfect for keeping your space bright and inviting!
Reassembling and Testing
After giving your kitchen exhaust fan a thorough cleaning, it’s time to put it back together and check if it functions properly. With a few simple steps, you can ensure that everything is aligned and working smoothly, leaving your kitchen fresh and grease-free.
Putting Parts Back Together
Begin by carefully placing the fan cover and filter back into their respective positions. Make sure that all clips or screws that you removed earlier are properly aligned and securely fastened. Double-check that everything is tight, as a loose cover can cause vibrations or inefficiency.
When putting the parts back, ensure you handle each component with care to avoid damage. Use a soft cloth to wipe any fingerprints or smudges, and adjust pieces to fit snugly. More frequent reassembly after regular cleaning will eventually make the task feel like second nature.
Functional Check
You’ve done the hard work; now it’s time to see the results! Reconnect the power supply to the fan and give it a whirl. Switch it on and listen for any unusual noises—buzzing or rattling isn’t a good sign.
Observe the airflow to ensure it’s functioning efficiently. Hold a small piece of paper near the intake to check the suction strength. The paper should stick slightly due to the air being drawn in. If everything sounds and feels right, you’ve successfully reassembled your kitchen exhaust fan! Regular cleaning and testing prevent build-ups that hinder performance, keeping your kitchen odor-free.
Maintaining a Clean Kitchen
Keeping your kitchen in top shape isn’t just about style—it’s about making cooking and cleaning a breeze. Regular cleaning helps prevent buildup, while avoiding common mistakes saves you from extra work down the road.
Regular Upkeep Tips
Consistency is key in maintaining cleanliness. Wiping down surfaces daily, especially stovetops, prevents the accumulation of grease and grime. After each cooking session, ensure any spills or splatters are cleaned up quickly to avoid stubborn stains.
Schedule weekly deep cleans—this includes cleaning kitchen exhaust fans and hoods, which require a more thorough approach. Ensure to clean your appliances, like ovens and microwaves, regularly. For stovetops, a simple combination of baking soda and water can be used to scrub tough spots.
A monthly task is to inspect and perhaps change or wash filters in your exhaust systems. Doing this will ensure efficient airflow and reduce unwanted odors. Keep a checklist to track your cleaning tasks, making upkeep less overwhelming and more manageable.
Avoiding Common Mistakes
One pitfall is neglecting small tasks, thinking they can wait. This leads to monumental grime challenges. Start with easier tasks like wiping countertops—this sets the stage for tackling larger jobs with ease.
Overusing harsh chemicals can damage surfaces. Opt for natural cleaners like vinegar or lemon juice, which are effective but gentle. They’re great for breaking down grease without leaving residue.
Make sure not to ignore the areas around and under appliances. Grease and crumbs love to hide, leading to unpleasant odors and even pest issues. During your cleaning routine, move appliances around to ensure you catch every nook and cranny.
A little bit of regular maintenance keeps your kitchen not only looking fabulous but operating smoothly, making your cooking experiences more enjoyable.