
9 min read
$100 DIY Projects That Add Major Value to Your Home (Easy, High-Impact Upgrades)

Ever wish you could give your home a fresh boost without draining your wallet? You don’t need a big budget or a team of pros to make your space shine. With just $100 and a little elbow grease you can tackle projects that not only look fantastic but actually add value to your home.
Why $100 DIY Projects Can Boost Your Home’s Value
Ready for some good news? Small-scale upgrades can create big-time appeal. When you take on a $100 DIY project, you’re not just fixing a problem—you’re actually investing in your home’s worth. Homebuyers and appraisers pay attention to details like fresh paint, updated hardware, and stylish lighting. Even simple swaps get noticed.
Think about this: Curb appeal upgrades, like new address numbers or freshly mulched flower beds, instantly catch eyes. It’s the little touches that scream “well cared for” to every potential buyer or guest.
Sprucing up spaces like kitchens and bathrooms? You can grab modern faucets, statement mirrors, or sleek handles for under $100 each. These upgrades don’t break the bank, but they set your rooms apart. HGTV experts report that minor improvements in busy areas deliver some of the highest returns compared to other renovations.
Tackle these projects on your own, and you’re also showcasing attention to maintenance. People see that you care, and that’s a huge confidence booster for buyers.
Never underestimate what a small investment can do. DIY efforts bring value through personality and smart design choices. Get creative—turn $100 into something that elevates your space, attracts the right attention, and delivers value long after the work’s done.
Essential Tools And Materials For Budget-Friendly DIY
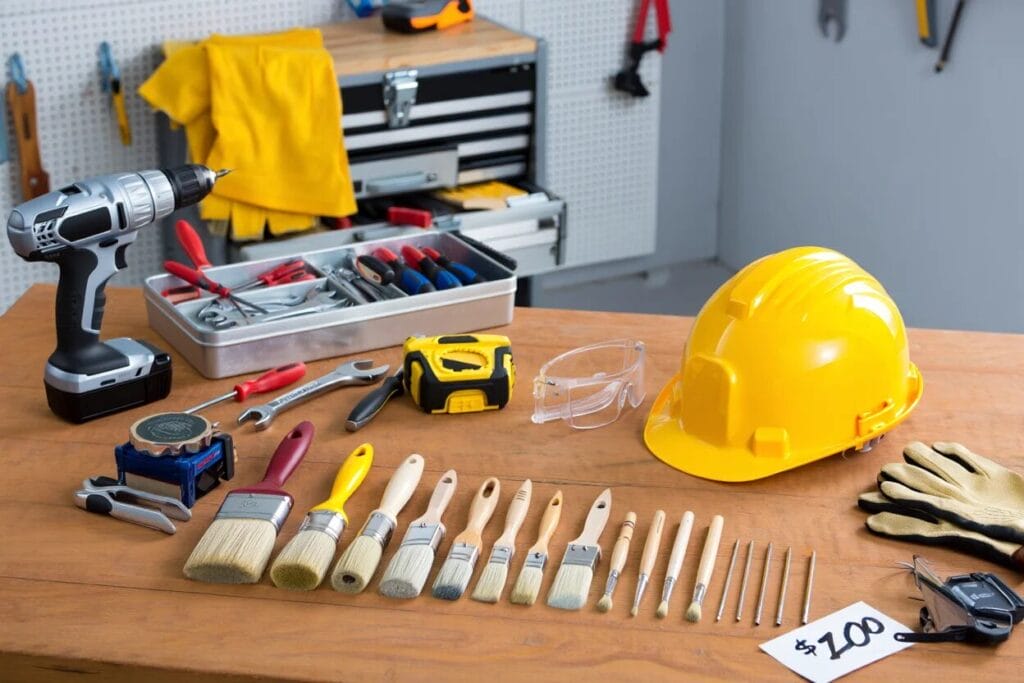
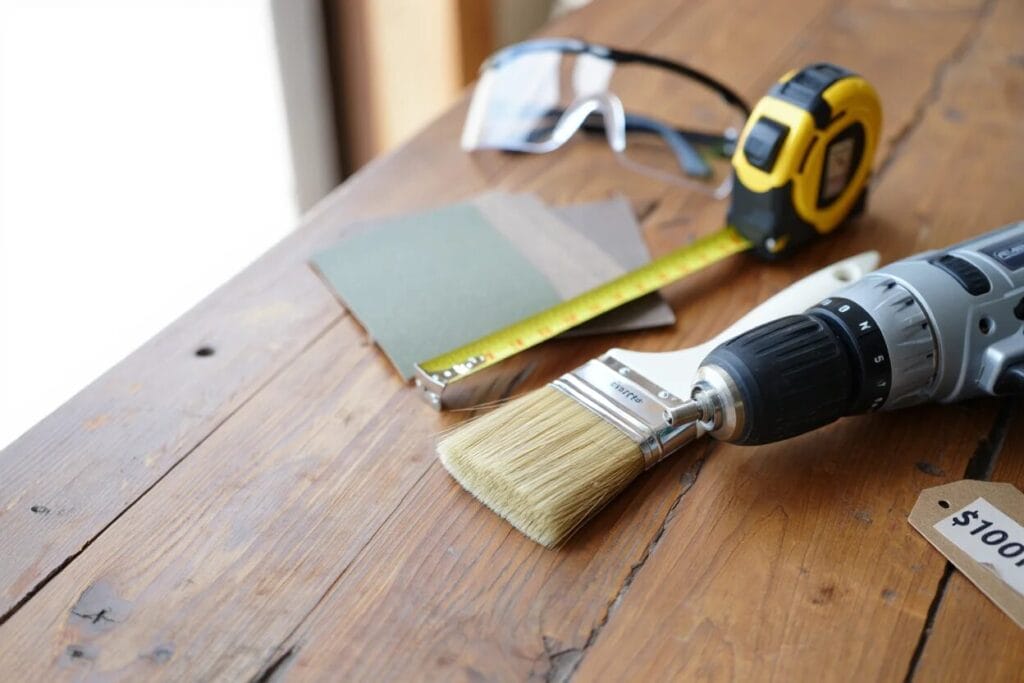
Hey DIY fanatics, before you grab that paintbrush or power up the drill, let’s talk basics. Having the right gear on hand makes every $100 project smoother, cleaner, and way more fun.
- Cordless drill and assorted bits—Tackle everything from hardware swaps to floating shelves with this must-have. Example: Mount curtain rods or hang new art.
- Quality hand tools—hammer, screwdrivers, tape measure—Handle all those essential home fixes, like tightening cabinet pulls, with just a few tools in your kit.
- Painter’s tape and drop cloths—Keep lines crisp and floors free from drips when giving rooms a fresh coat or quick update.
- Paint roller and angled brush—Transform spaces fast and reach corners and trim just as easily as the pros.
- Level and stud finder—Hang statement mirrors and shelves straight and secure, even on the first try.
- Affordable caulk and caulk gun—Seal up gaps around sinks, or give old tile and bathtubs an instant facelift with a $5 tube of fresh caulk.
- Sandpaper and spackle—Smooth out walls, patch dings, and prep surfaces, getting ready for those head-turning finishes.
- Basic safety gear—gloves, safety glasses—Work safe and keep those hands and eyes in top shape.
- Budget-friendly materials—Opt for peel-and-stick tiles, decorative knobs, or premixed grout for high-impact changes with just a little cash. Example: Swap vanity pulls or add a simple backsplash.
With this lineup, you’ll handle any DIY makeover with confidence—and crank out major style upgrades that stay under budget. No need to break the bank or overstuff your toolbox; just stock up on these essentials and you’re ready for every creative challenge that comes your way.
Top $100 DIY Projects That Add Major Value To Your Home
Ready to boost your home’s wow factor without breaking the bank? You can stretch that $100 bill to make a bunch of smart, standout changes. Even a few small DIY upgrades pack a punch for style and value.
Revamp Your Entryway With Affordable Upgrades
Start with curb appeal—guests notice your front door first. Paint that door a bold color for immediate impact. Swap out old house numbers for sleek, modern address plates or add a kick plate for extra polish—both usually land well under $30 each. Update your tired welcome mat with a fresh design, or line the walk with solar pathway lights for a glowing touch that feels custom. These changes turn your entryway into a statement—without a major price tag.
Refresh Kitchen Spaces For Less
Give your kitchen a mini makeover. Try swapping mismatched hardware for a cohesive set of cabinet pulls and knobs—most packs cost under $40. Add a roll of peel-and-stick backsplash tile with a marble or subway pattern for instant style. Paint an accent wall with a cheerful, on-trend color, using painter’s tape for sharp lines. Finish with open shelving to display colorful dishes or plants—making your kitchen look pulled together and contemporary.
Enhance Bathroom Appeal On A Budget
Breathe life into your bathroom using a few inexpensive tricks. Replace your builder-grade mirror with a framed statement mirror (search local home stores for deals). Upgrade the faucet to a modern, water-saving model—you’ll find quality options for $60 or less. Apply removable wallpaper for a dramatic accent wall, or install new towel hooks and a shower curtain in coordinated tones. These updates deliver a spa-like vibe in just an afternoon.
Create Inviting Outdoor Living Areas
Transform your outdoor space into a hangout spot. String weatherproof LED café lights over your patio or balcony for instant ambiance. Brighten up planters with annuals from your local nursery or lay down fresh mulch to tidy the flower beds—both boost first impressions. Paint or stain existing furniture, or whip up a set of DIY cinder block benches with cedar planks—all supplies fit nicely in the $100 range. Your outdoor retreat comes together fast, looking custom and cared-for.
Add Storage Solutions And Organization
Bring order to any room with smart storage. Install floating shelves for books, collectibles, or spices—kits start around $20. Outfit closets with hanging organizers and fabric bins to instantly double your usable space. Tackle clutter in the entryway with a simple wall-mounted hook rack or a storage bench. These small additions create the feeling of more space and function—two things every buyer loves.
Tips For Successful And Cost-Effective DIY Projects
Planning makes projects shine. Start with a clear vision—snap a photo of your space and sketch your ideal result right on the image. Create your to-do list and shopping list before any tool leaves the toolbox.
Measuring always matters. Grab that tape measure and jot down every detail twice—trust me, that extra minute saves hours fighting with things that just don’t fit. A laser level or digital tape measure brings a pro edge to lining things up.
Set a realistic budget for each upgrade. Break down your total $100 into bite-size chunks for paint, hardware, or plants. Use free online calculators to estimate costs—sites like Home Depot’s project planner lay it all out for you.
Shop smart and stretch every dollar. Check your garage or local buy-nothing groups for leftover supplies. Pick up open-box deals, or scan the “Oops” paint section at home stores for unique shades.
Work in zones, not the whole room at once. Tackle one wall, surface, or corner—knock it out, then move on. That momentum keeps you motivated and lets you see awesome progress fast.
Don’t rush the prep—great results love a clean canvas. Sand, clean, patch, and prime before you even pop a paint lid or open that roll of wallpaper. Skipping prep leads to regret every time.
Add a pro touch with details. Swapping cabinet pulls? Line them up using a hardware template. Hanging art? Use painter’s tape to lay it out on the wall first. These small steps create that “wow” factor.
Review safety basics before you dive in. Slip on goggles, gloves, and a dust mask—this gear keeps you comfortable, not just safe, so your project runs smoother from start to finish.
Call in help when you need muscle or a second opinion. Sometimes a friend’s extra set of hands makes all the difference—plus, it makes the experience more fun.
Every project looks more valuable when you mix careful prep, smart planning, and creative resourcefulness. Confidence grows with each upgrade—and so does your home’s value.
Common Mistakes To Avoid When Tackling DIY Home Improvements
Skipping prep work often leads to project headaches. A little sanding and a bit of primer go a long way, especially before painting or installing new fixtures. Fast-tracking the foundation steps can cause peels, cracks, or loose hardware down the line.
Eyeballing measurements almost always results in pieces that don’t fit right. Double-check those measurements before you drill or cut—it saves money, time, and most importantly, your sanity.
Using the wrong tools slows things down and even damages materials. Matching tool to task—like using a stud finder before hanging shelves—makes each project cleaner and safer. If you improvise, you risk stripped screws and crooked results.
Forgetting to budget for extras catches many by surprise. Factor in tapes, sandpaper, primer, and brushes when you estimate costs. Extras might eat up your $100 budget if you don’t plan for them upfront.
Skipping surface cleaning leaves paint streaky and hardware loose. Wipe down walls, cabinets, and fixtures to get a pro-quality finish even if the surfaces look clean. Grease or dust derails adhesion every time.
Ignoring safety gear steals focus and confidence. Grab gloves and goggles for jobs with power tools, sharp blades, or splinters—DIY pride comes from finishing strong, not with band-aids or regrets.
Neglecting manufacturer instructions leads to rookie mistakes. Read those quick start guides and labels—they’re packed with shortcuts and tips designed to make your upgrade smooth. If you get stuck, quick searches or video tutorials keep your momentum going.
Overlooking the small stuff can leave a project feeling unfinished. Swapping out switch plates or adding caulk to trim polishes your DIY masterpiece and makes every change count when it comes time to show off your results.
Conclusion
With a little creativity and less than $100, you can make a real difference in your home’s look and feel. These simple projects not only refresh your space but also show off your dedication to caring for your investment.
Don’t be afraid to experiment and put your own spin on each idea. Every upgrade, no matter how small, brings you closer to a home you love—and one that stands out to future buyers. Happy DIY-ing!