9 min read
How to Wire a GFCI Outlet with 3 Wires (7 Steps)
In the article below, I will show you how to wire a GFCI outlet with three wires.
A GFCI outlet provides greater protection than a regular outlet and circuit breaker combined, although it is a little more expensive. This makes them popular for safety and convenience. Wiring a GFCI outlet with three wires is not that difficult. With this detailed and illustrated guide, you will learn to do this easily and safely.
Like other power outlets with three wires, you connect the wires as follows (for US domestic AC, single location): The hot wire (usually black) connects to the bronze terminal, the neutral wire (usually white) connects to the silver terminal, and the ground wire (usually green or bare) connects to the ground terminal.
Firstly, let me explain the three-wire system a GFCI outlet relies on.
GFCI Outlets Getting Started
GFCI outlets with three wires provide additional protection compared to regular power outlets.
They can protect against electrical shock if a faulty appliance is plugged in. They do this by sensing minor changes in current flow and shutting the power off in a fraction of a second (~1/40) [Black & Decker, 2008]. This safety aspect makes GFCI outlets ideal for kitchens, bathrooms, and outdoor areas.
I recommend you use GFCI outlets in your home. The only drawbacks are that they are larger than regular outlets and a bit more expensive. But for the safety advantage, they are worth using.
Due to the larger size, if you are replacing an old non-GFCI outlet, you might also need to replace the box (for a larger one) into which the outlet will be fixed.
GFCI Outlet Wires
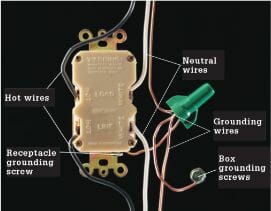
The three wires connecting to a GFCI outlet are ‘hot,’ ‘neutral,’ and ‘ground’ (see the picture below).
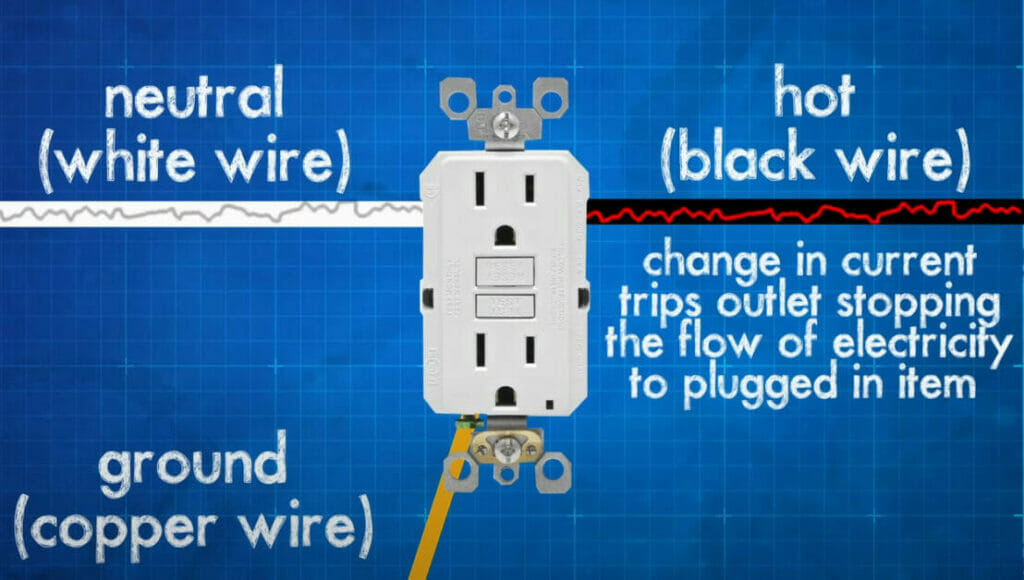
The hot wire is a live conductor that brings electrical current into the load, and the neutral wire provides a path for the current to return.
The ground wire terminal distinguishes a GFCI outlet from a simple two-prong outlet or receptacle, which does not have a third ground terminal and relies exclusively on hot and neutral connections. The ground connection is the one that protects from electrocution, although appliances can work without it.
The wires in some GFCI outlets are attached to wire connectors, but most GFCIs have standard screw terminals. Each of the three types of wires must be connected to the right terminal.
If the terminals are distinguished, the hot wire (usually black) connects to the bronze terminal, the neutral wire (usually white) connects to the silver terminal, and the ground wire (usually green or bare) connects to the ground terminal.
This wiring scheme is according to the US wiring system for domestic AC. If you live elsewhere, the colors and terminals may differ, including the outlet’s design.
Wiring a GFCI Outlet with Three Wires
I’ve detailed the steps for wiring a GFCI outlet with three wires.
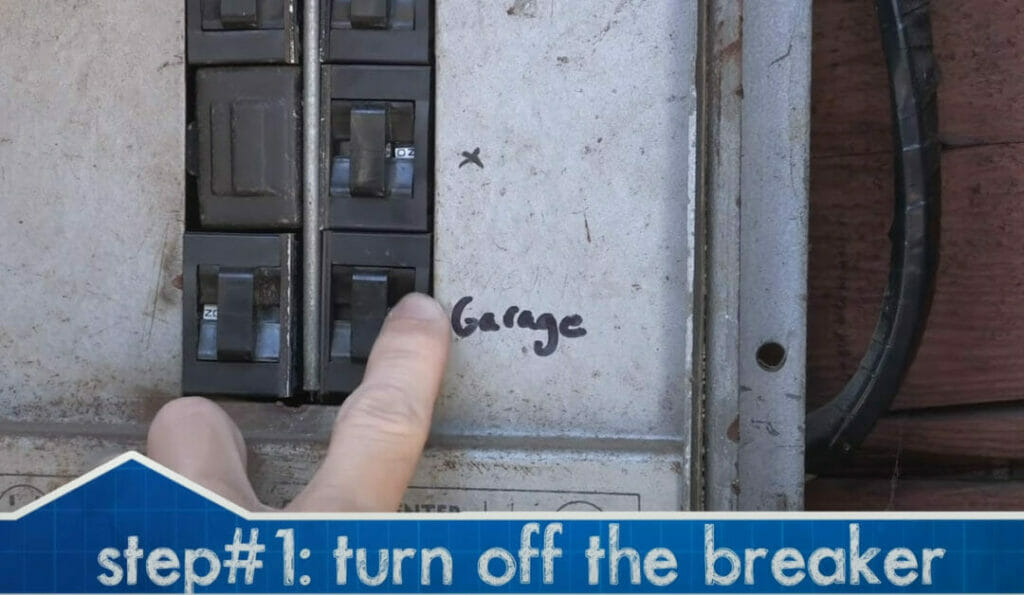
Step 1: Turn the Power Off
First and foremost, turn the power off to the circuit to which the outlet is connected.
You do this by switching off the corresponding circuit breaker at the main panel.
Make sure you switch off the right circuit breaker.
Step 2: Remove the Cover Plate
Remove the cover plate (aka faceplate) from the outlet.
Remove the screw on the cover plate and gently pull the outlet out by holding two opposite sides.

Step 3: Remove the Wires
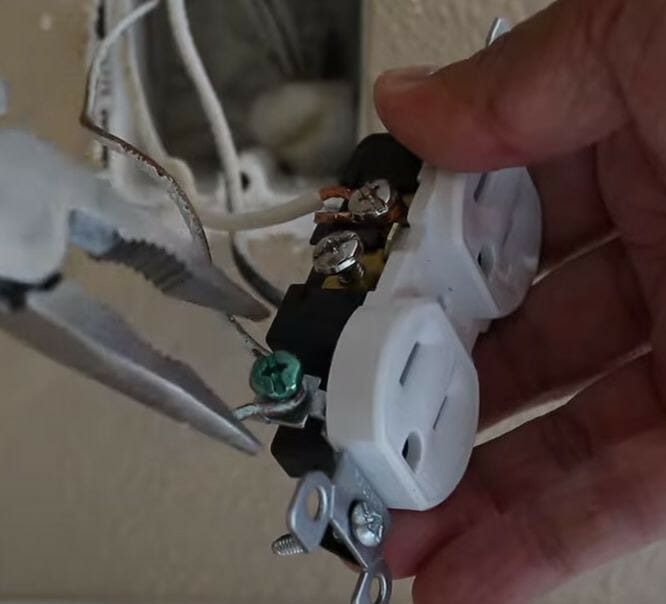
Disconnect the wires attached to the old outlet.
Use the screwdriver (or tester) again to remove the screws holding the wires at the back of the outlet. You might only need to loosen them to pull the wire ends out. You can pull the entire outlet out when all the wires have been removed.
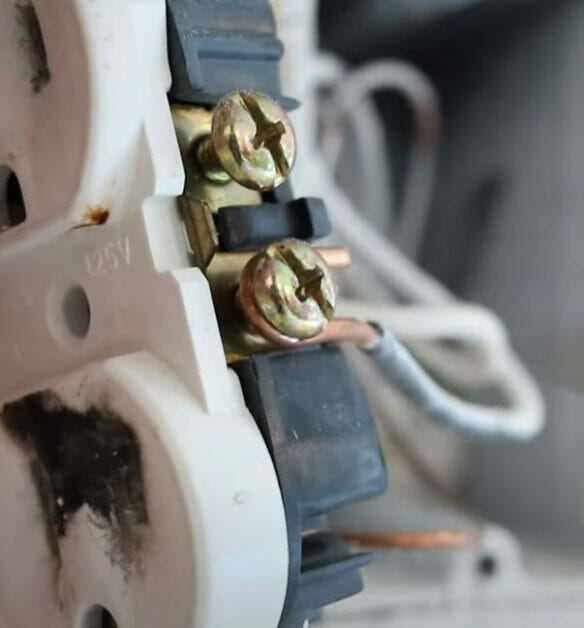
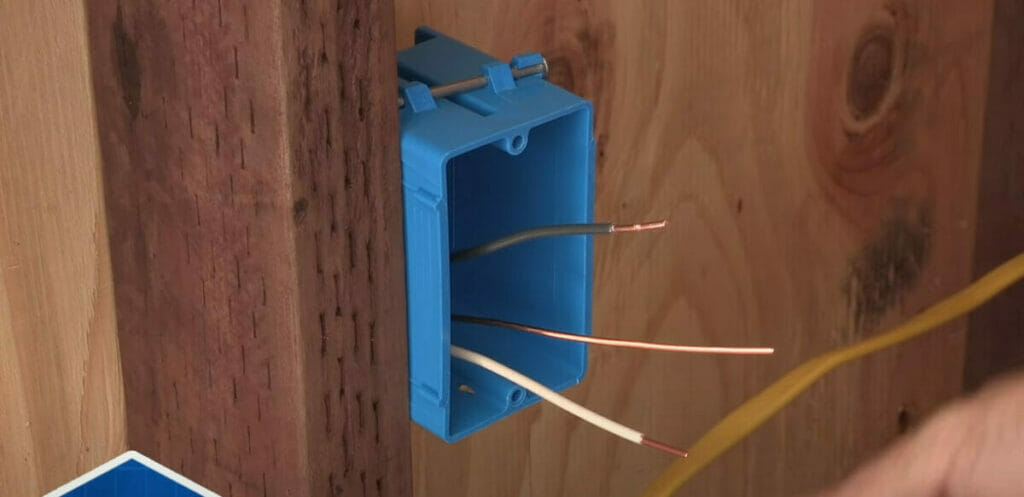
After removing the old outlet completely, you will see only the box and three wires coming out of it (normally black, white, and bare copper), as in the picture below.
Step 4: Strip the Wires (If Needed)
At this point, you might need to strip the ends of the wires.
If enough of the wire ends are not exposed, use a wire stripper to strip about half an inch of the insulation. Enough wire should be extended at least 4 inches from the box.
Step 5: Attach the Wires
Now attach the wires to the new GFCI terminal.
Attach the wires according to the following scheme (for US domestic AC):
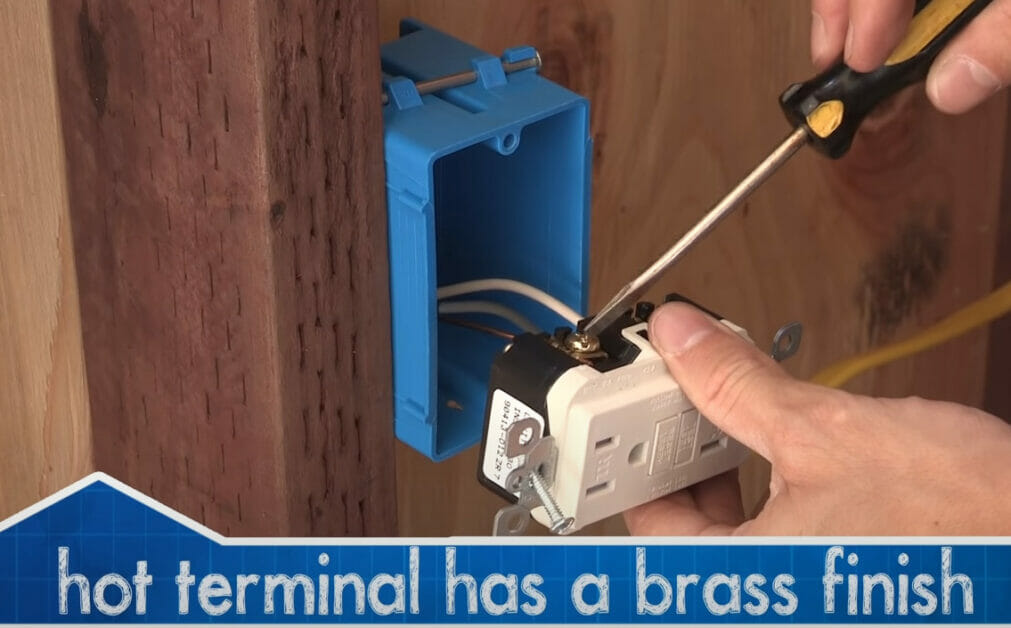
- Attach the black wire to the brass screw on the terminal marked ‘Hot’ or ‘Black.’
- Attach the white wire to the silver screw on the terminal marked ‘Neutral’ or ‘White.’
- Attach the ground wire to the green screw on the terminal marked ‘GRD’ or ‘Ground.’
Use a nose plier to wrap a wire around its terminal. If the ground wire is bare copper, ensure it does not touch any other terminals.
Also, note that the power supply wires (black and white) are connected to the ‘Line’ row. It would be best if you did not connect them to the other ‘Load’ row for a different purpose (see below under ‘Single and Multiple Locations’).
If the GFCI terminal is new, the load terminals will probably be covered with tape.

If you have more than one wire of the same type, i.e., the same color, you can make a pigtail connection to join and attach them to the same terminal.
Step 6: Attach the Outlet
Once all the wiring is done, replace the cover plate.
Step 7: Power the Outlet On
Finally, you can power the outlet on.
Your new GFCI outlet is now ready to use.
Single and Multiple Locations
GFCI wires can be wired to protect themselves (a single location) or other outlets, switches, and fixtures (multiple locations). The pictures below illustrate the difference between the two.
 |  |
| A GFCI wired for protecting a single location (1) | A GFCI wired for protecting multiple locations (1) |
When a GFCI is wired for a single location, the hot and neutral wires are only connected to the LINE terminals. This is the most common configuration.
If you prefer to wire one for multiple locations, one pair of wires (hot and neutral) will be connected this way, while the other pair will be connected to the LOAD terminals. As for the ground wires, they will be pigtailed together and connected to the single green/ground terminal.
Although both arrangements are possible, GFCI outlets work more effectively when wired to protect a single location due to their high sensitivity. Single-location GFCI outlets also avoid ‘phantom tripping,’ which happens when power is shut off because of a tiny (but normal) fluctuation in current. (1)
Testing the GFCI Outlet
Testing for Power
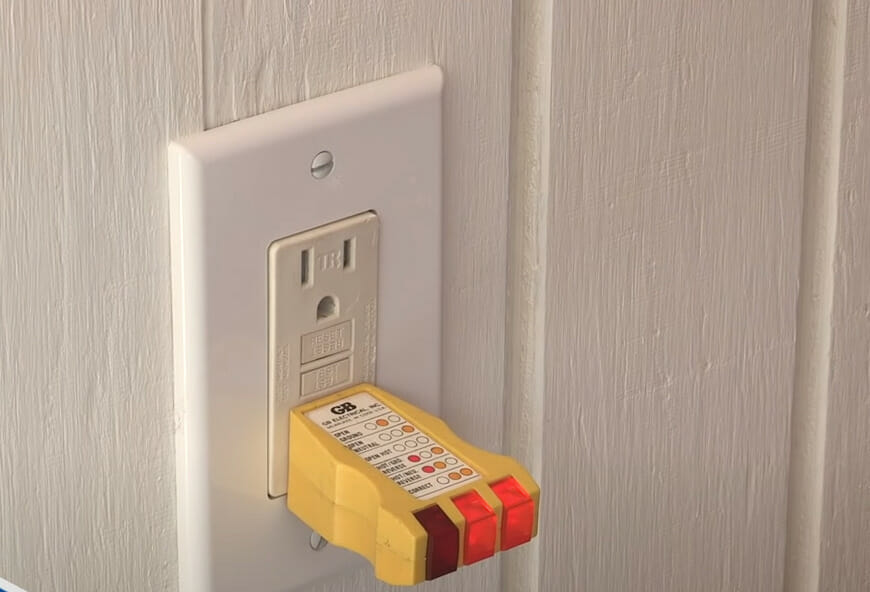
If you need to test the new GFCI outlet, you can do that either by:
- Inserting a plug into the outlet to see if it turns on, or
- Inserting a tester into the hot (short vertical) slot.
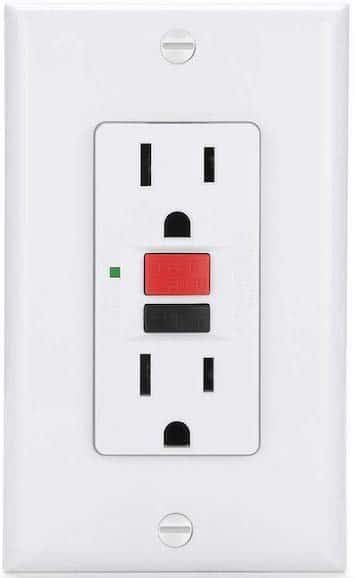
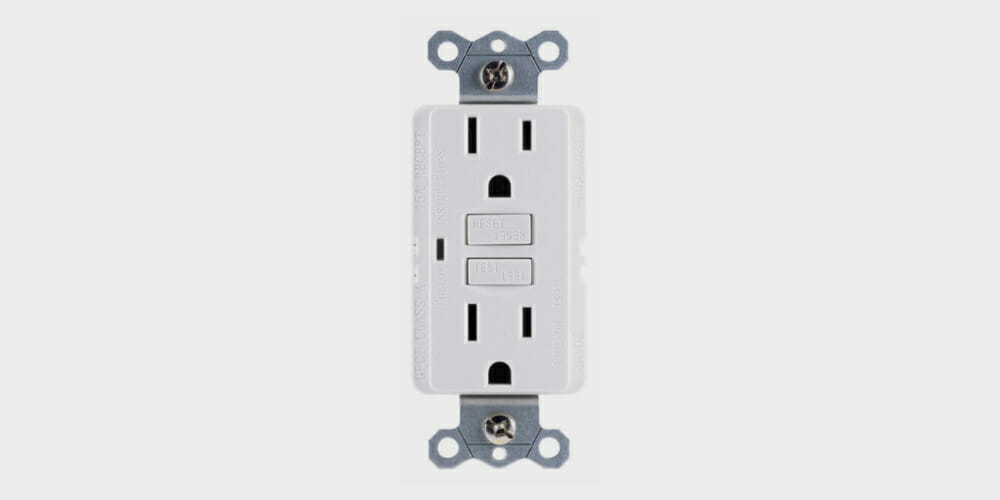
You can also press the ‘test’ button with an appliance plugged in. It’s the black bottom switch in the GFCI outlet above. The power should shut off. If it does, then the GFCI outlet is operating as it should to give you the extra protection for which it is designed.
In case the GFCI outlet fails to work as expected, open it again and check to ensure the wires are connected properly.
Frequent Tripping
If it keeps tripping too frequently, the circuit might be overloaded. If it trips when nothing is plugged in, it isn’t very accurate and must be replaced.
Reference
(1) Black & Decker. The Complete Guide to Wiring: Upgrade Your Main Service Panel – Discover the Latest Wiring Products – Complies with 2008 NEC. Black & Decker Complete Guide. Editors of Creative Publishing International. Cool Springs Press. 2008.
Video References
CircuitBread
MrFixItDIY
TheRenderQ