9 min read
How to Test a 240v Outlet (3-Step Guide)
Hey everyone, diving into the world of home improvement and DIY projects, one skill stands out as incredibly useful and essential for safety: testing a 240V outlet.
A 240V outlet powers your big appliances like dryers and ovens, and it’s crucial to ensure they’re correctly and safely receiving power. Here’s how to test it:
- Step 1: To determine the ground and common setup, check if you have an older three-prong or a newer four-prong outlet.
- Step 2: Set your multimeter to AC voltage, with red in the voltage slot and black in the common.
- Step 3: Testing the Outlet – Test between the ground and each hot slot for 120V, then across both hot slots for the full 240V, ensuring everything’s in order.
So, I’m here to walk you through the process. Let’s make sure your home’s power is working for you safely and efficiently. Ready to get started? Let’s dive in!
Understanding 240V Outlets in the USA
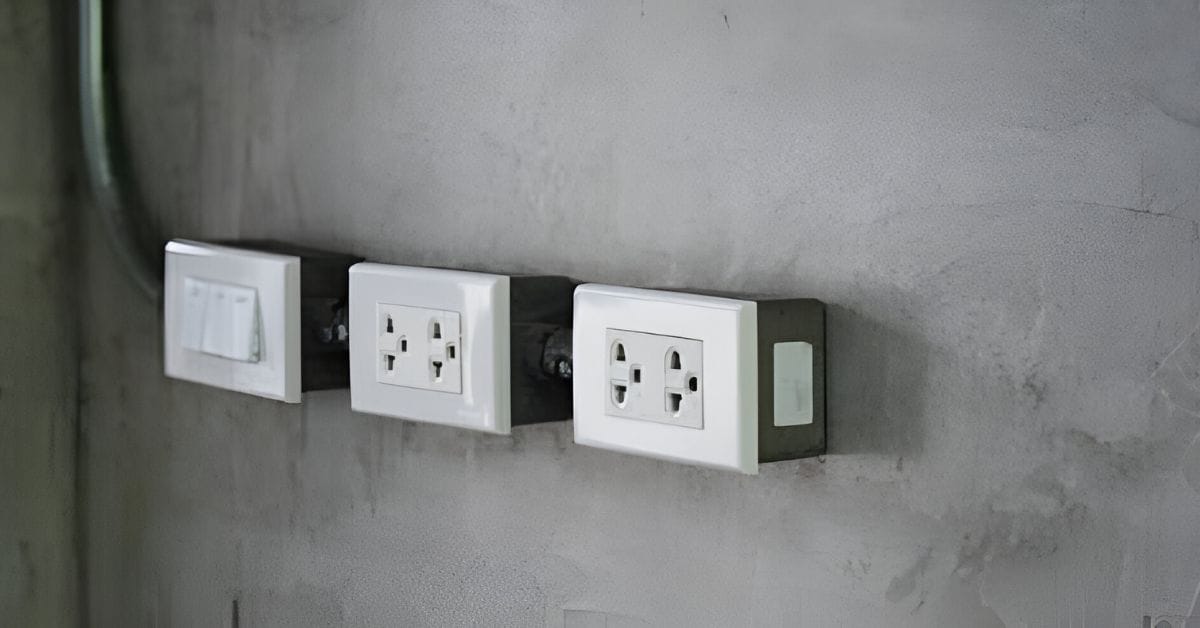
Diving into the world of 240V outlets, you’ll spot they’re not your everyday plug. They’re the heavy lifters designed to power up the big guns in your home—think air conditioners, dryers, and the like.
You’ve got two main types: the 3-prong and the 4-prong outlets. The 3-prong is your basic model, no fuss, just ready to deliver that high-voltage power. Picture it on the left side, solid and dependable.
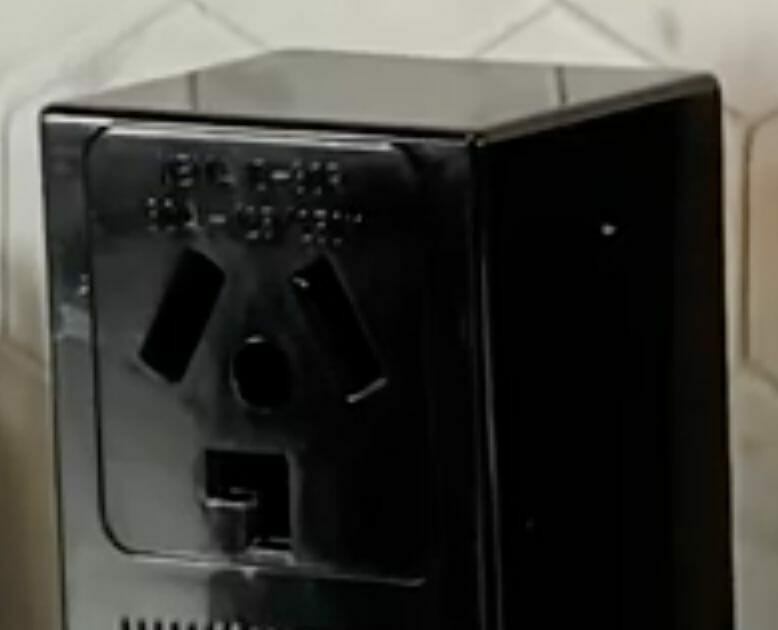
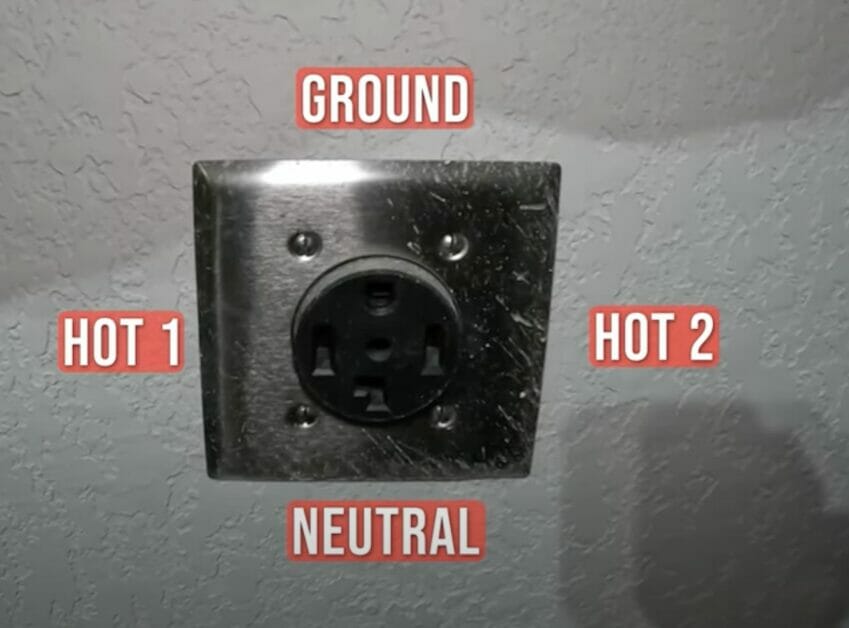
Then, swing over to the 4-prong outlet. This one’s more decked out, with an extra hot wire doubling the voltage, ensuring you’re fully powered. With its two vertical slots and a special spot for the neutral and ground connections, it’s the full package, sitting proudly on the right.
Whenever I’ve worked with these outlets, it’s a reminder to double-check what you’re dealing with. It’s all about matching the right outlet with the right job.
And here’s something I always remember: these 240V outlets are hooked up to a double-pole circuit breaker, ensuring everything runs smoothly and safely.
So, whether setting up a workshop or keeping your home cool, getting to know your 240V outlets is key. And hey, if you’re ever unsure, there’s no harm in calling in a pro. Safety comes first, always.
Testing a 240V Outlet
Let’s get into the nuts and bolts of testing a 240V outlet. You don’t need a whole toolbox—just a trusty voltmeter or multimeter, and for the cautious among us, some rubber-insulated gloves for safety.
Step 1: Understanding Your Outlet
Now, if your place is a bit older, you might find a three-prong outlet for your dryer. These guys have a combined ground and common.
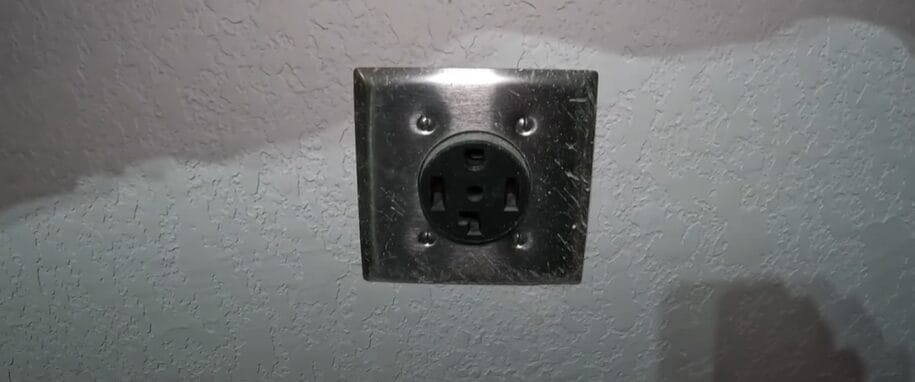
But the newer standard? That’s the four-prong outlet. It splits the common ground into its own spaces, making things safer for everyone involved.
Step 2: Setting Up Your Multimeter
You want to set your multimeter to measure AC voltage because that runs through our homes.
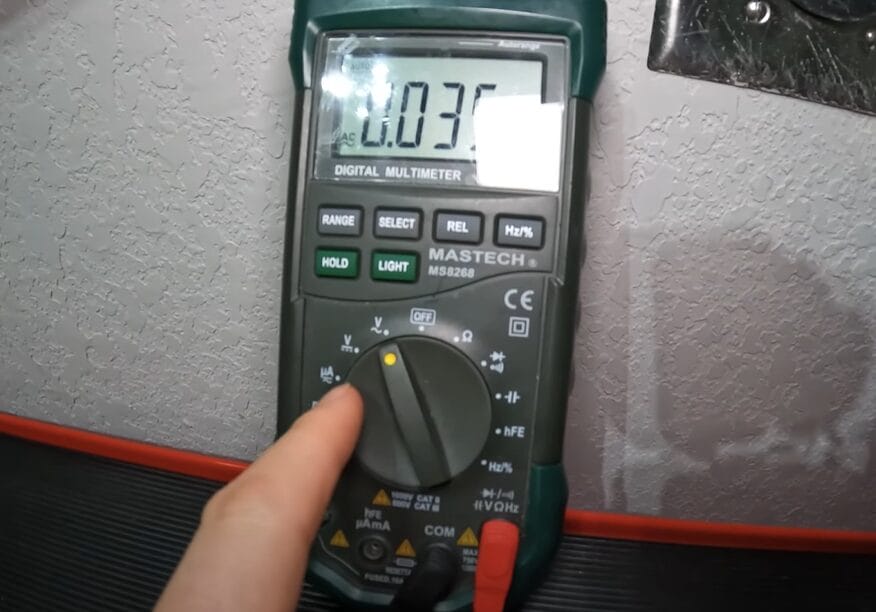
Make sure those leads are plugged in right—red in the slot for voltage and black in the common. We aim to see if we’ve got the correct voltage.
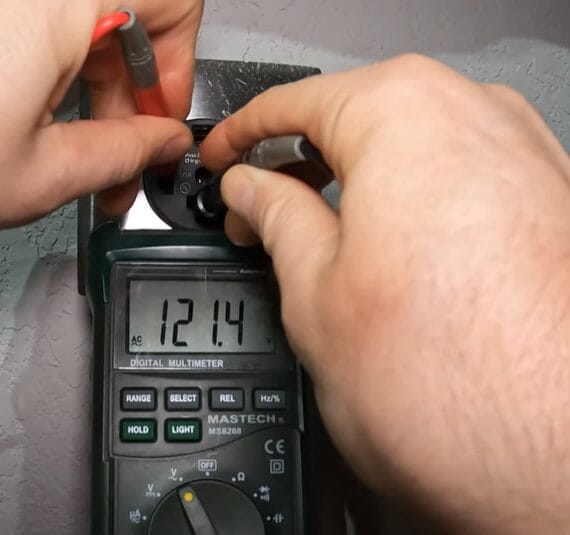
Step 3: Testing the Outlet
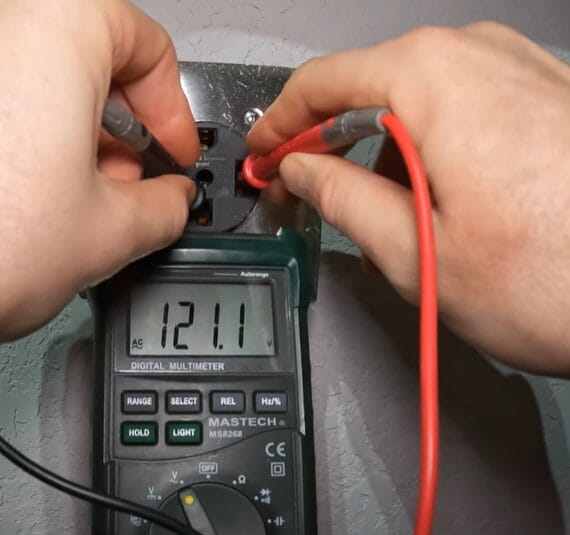
You’re going to test between the ground and each of the hot slots. You should be seeing around 120V from each one. That’s half your 240V right there.
Next, test across both hot slots. This is where you should see the full 240V showing up on your meter. That tells you everything’s in working order.
Remember, if those readings aren’t what you expect, it might be time to dig deeper or call in a pro. Stay safe, and don’t hesitate to tackle your next project with confidence.
How 120V and 240V Supplies Differ
Here in the U.S., we’re mostly on 120V for everyday needs. Think of it as the standard gear for powering your lamps, TV, and fridge. It’s a single-phase system, like having one strong, steady stream of electricity flowing into your appliances.
But then, there’s the 240V line—this is the heavy hitter. It’s like having a supercharger for your home’s power supply. Why? Because it operates on what’s technically known as a three-phase system, although for residential use, it’s more accurate to say it’s split-phase.
This setup offers up double the voltage to handle the big jobs. We’re talking about the appliances that do the heavy lifting, like your air conditioner or the washing machine. These guys need more power to get the job done, and 240V delivers.
Now, you might wonder why there’s a need for two different voltages. Well, it’s all about efficiency and safety. Using 240V for larger appliances reduces the current required, which means less strain on your wiring and potentially lower energy bills for those big power users.
And here’s a cool perk—traveling or moving from a country that uses 220-240V standard? With a 240V supply, many foreign appliances can plug in without a voltage adapter.
From personal experience, setting up a home workshop or studio is where you appreciate the difference. Plugging in a high-powered tool or equipment and knowing your home’s electrical system can handle it easily is a game-changer.
And remember, consulting with a professional is always the best move when in doubt. Safety and efficiency go hand in hand, especially regarding electricity.
Troubleshooting Common Problems with Your 240V Outlet
Let’s dive into troubleshooting common problems you might encounter after testing your 240V outlet. Here’s a straight-to-the-point guide on how to tackle these issues, keeping it clear and actionable.
| Problem | Symptoms | How to Address |
|---|---|---|
| Tripped Circuit Breaker | The outlet is not working at all | First, check your home’s electrical panel. Look for a breaker that’s flipped off or stuck in the middle. Flip it to ‘OFF’ and then back to ‘ON’ to reset. If it trips again immediately or soon after, there’s likely a more significant issue at playtime to call in the pros. |
| Faulty Wiring | Flickering lights, intermittent power, or a burning smell | If you’re comfortable and know your way around electrical systems, turn off the power and remove the outlet cover to inspect for loose wires or signs of damage. Tighten any loose connections and replace any visibly damaged wires. Not sure? Better safe than sorry—get an electrician on the job. |
| Damaged Outlet | Cracked or burnt outlet, plug doesn’t fit snugly | The outlet stops working when multiple devices are plugged in |
| Overloading | The outlet stops working when multiple devices are plugged in | Unplug some devices to reduce the load. If the problem persists, the outlet may need to be replaced with one that can handle a higher capacity or additional outlets may need to be installed to distribute the electrical load more evenly. |
| Loose Connection | Intermittent power | Check and tighten the outlet’s terminals for loose wires with the power off. Again, if you’re uncomfortable doing this, contacting a professional electrician is best to secure the connections properly. |
Remember, working with electricity is no joke. If you’re ever in doubt or uncomfortable handling these issues, there’s no shame in calling in a professional. Safety comes first, always.
Frequently Asked Questions
- Can I Convert a 120V Outlet to 240V?
- It’s possible, but it’s not a simple DIY project. This conversion involves changes to your home’s electrical panel and wiring. Always consult a professional electrician to make these changes safely and up to code.
- Is It Expensive to Install a 240V Outlet?
- The cost can vary based on your home’s existing wiring and the outlet’s location. It’s not just about sticking a new outlet on the wall; it’s about ensuring your home can support it safely.
- Do All Countries Use 240V Outlets?
- Many do, but not all. The voltage and plug types can vary greatly around the world. It’s like traveling; you need to know what to expect and prepare accordingly.
- How Often Should I Test My 240V Outlet?
- It’s a good practice to test your 240V outlets at least once a year or whenever you notice something off. Regular checks are like routine check-ups for your home’s health.
- Can I Plug a 240V Appliance Into a 120V Outlet With an Adapter?
- Using an adapter doesn’t change the voltage. Plugging a 240V appliance into a 120V outlet, even with an adapter, won’t provide enough power and can lead to underperformance or damage.
References
Organizations:
- International Electrotechnical Commission (IEC). https://www.iec.ch/homepage
- American Society of Home Inspectors (ASHI). https://www.homeinspector.org/
Books:
- “Black & Decker Advanced Home Wiring” https://valsec.barnesandnoble.com/w/black-decker-advanced-home-wiring-5th-edition-editors-of-cool-springs-press/1127028110?ean=9780760362471
- “Wiring a House” by Rex Cauldwell. https://www.barnesandnoble.com/w/wiring-a-house-rex-cauldwell/1118175264
Website Resources:
- National Fire Protection Association (NFPA). https://www.nfpa.org/en
- Instructables. https://www.instructables.com/
Video References:
D3RPZILLA
Supplying Demand