9 min read
How to Hang a Hammock Indoors without Drilling (3 Methods)

In the article below ill teach you how to hang a hammock indoors without drilling using three methods.
Lying in a hammock can be extremely relaxing, but hanging one can get frustrating. You usually don’t want to drill a hammock into a wall because you are renting or you are afraid of secondary damages. As a handyman, I recently mounted a hammock without drilling and decided to put together this guide, so you avoid any learning pains.
A few options are available to hang a hammock indoors without the need to drill or damage your walls. These are to either hang it from existing posts, pillars, or other vertical beams, from the ceiling or roof beams or rafters or purchase a complete indoor hammock kit.
The first two options require looking for existing anchor points to hang the hammock straps and using S-hooks or carabiners. The third is a free-standing option which is always possible if you have enough floor space.
Before You Start
A few considerations are necessary before hanging a hammock indoors regarding capacity and certain dimensions.
Capacity
Every hammock has a maximum capacity which is the amount of weight it can hold. Before buying one, ensure it has enough capacity for all using it.
Dimensions
You will need to consider these dimensions:
- Hammock Length – The length of the curved part of the hammock. It is typically between 9 ft and 11 ft long.
- Ridgeline – The distance between the hammock’s ends. It is usually around 83% of its length, typically between 7.5 ft and 9 ft.
- Distance between Anchor Points – The separation distance between the two ends (anchor points) where the hammock will be strapped indoors, such as two posts or beams. Usually, between 12 ft and 16 ft is enough.
- Anchor Height (or Hang Point) – The height above the ground where the straps or suspensions will be attached. A level hammock should be the same at both ends unless the ground is uneven.
- Strap Length – The length of the strap (or rope, cord, or suspension) used to hang the hammock. It is the distance between each hammock’s end and the anchor point.
- Preferred Sitting Height – This is usually between 16” and 19”, about the height of a chair or sofa.
- Users’ Weights – The weights of all the people using the hammock. It affects the cord tension.
- Hang Angle – The angle formed between the suspension cord and the ground. Usually, a 30° hang angle is ideal. A little smaller may suit taller people, and a little more (less than 45°) would suit shorter ones.
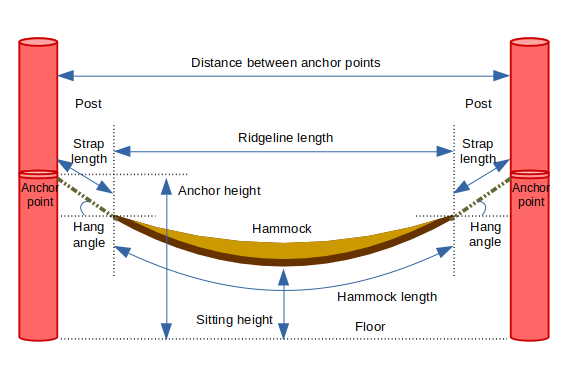
If the hammock is 10 ft long, its ridgeline length is 8.6 ft, the distance between the two anchor points is 16 ft, the user’s ideal weight is 180 lbs, and the preferred sitting height is 18”, then the anchor height should be around 6.2 ft and the strap length 4.3 ft. For other variations, use this online calculator to find the ideal values.
Three Options for Hanging a Hammock Indoors
First Option: Hanging a Hammock Indoors from a Post or Pillar
Condition: You have two vertical fixtures that can bear the weight and have enough space between them.

This option is only possible if you have two existing posts, pillars, or other vertical posts facing each other a certain distance apart, such as poles, stair rails, or a balcony railing. The distance between them must be sufficient for the hammock. Check its length to see if this condition is met. If it is, then this could be the best option for hanging your hammock indoors.
To attach the hammock to the posts, you can use the same tree strapping kits to install a hammock outdoors. However, the posts are likely smoother than a tree, so you must prevent slipping. Tighten the hammock straps as much as possible around the posts.
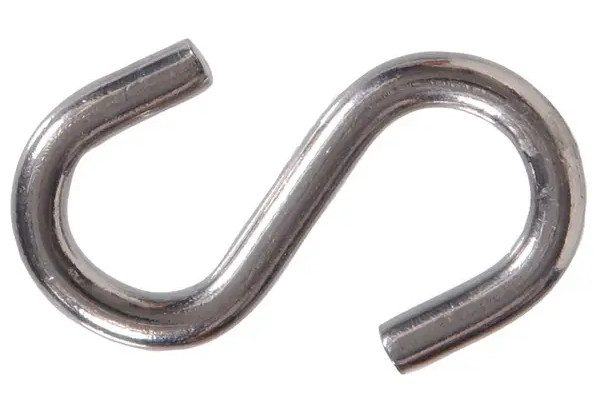
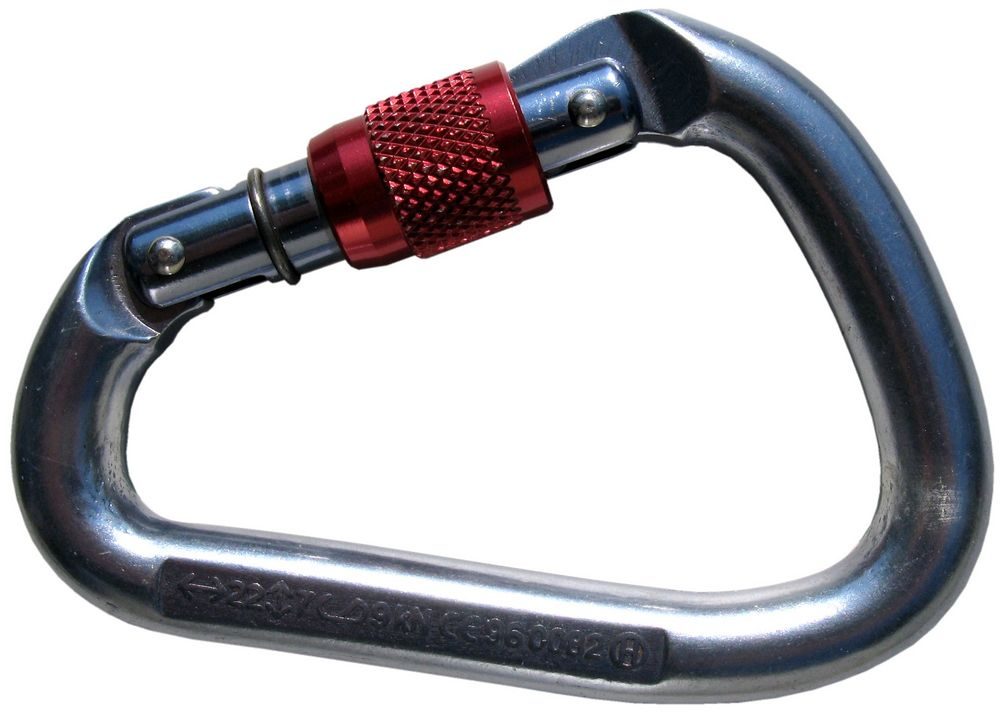
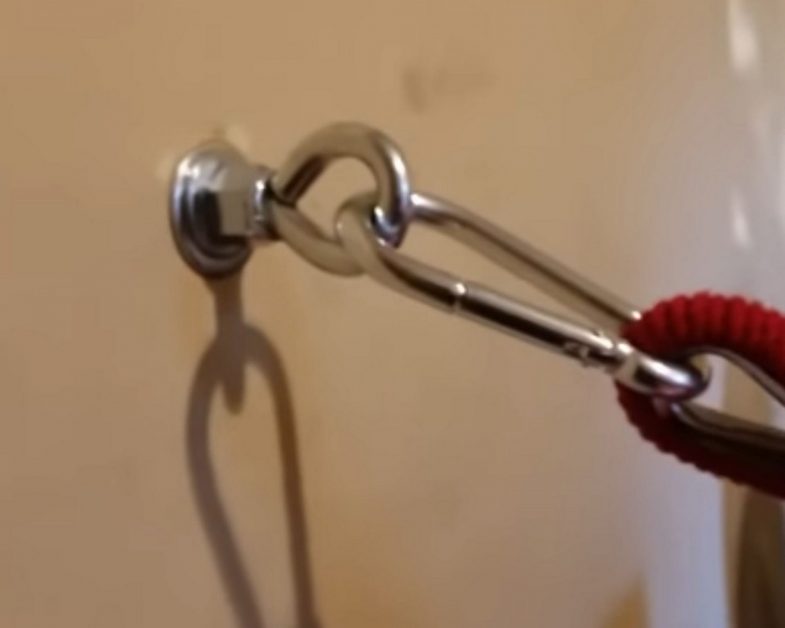
The hammock must be able to bear the person’s weight without slipping downward. If necessary, make an incision encircling each post at the right height and fit the straps into the grooves. Once set, attach the S-hooks (or carabiners) to the loops and the hammock itself.
Here is a summary of the steps for the 1st option:
Step 1: Select the Posts
Find two suitable posts or pillars with adequate space between them.
Step 2: Incisions
Create an incision encircling each post at the same height for the straps to fit in the grooves.
Step 3: Straps
Tighten the hammock straps around the posts.
Step 4: S-Hooks
Attach the hooks to the loops.
Step 5: Hammock
Attach the hammock.
Second Option: Hanging a Hammock Indoors to The Ceiling or Roof Beams
Condition: You have two horizontal fixtures that can bear the weight and have enough space between them.

If you don’t have any suitable posts, you can use the horizontal beams in your ceiling instead or the ceiling joists/studs. You will need to drill into the ceiling if they are not exposed. Do not try this on false ceilings!
If you are directly below an attic, you can simply go into the attic to locate the joists and drill downward. An empty attic above is ideal because it does not have to support any other weight.
Use a stud finder if you have no attic but a stud ceiling. Its thickness should be at least 2”x6” in this case. Smaller rooms with shorter stud lengths are ideal. Also, try to find a place near the edge of a room rather than its center. This is because the beams or studs are stronger at the edges.
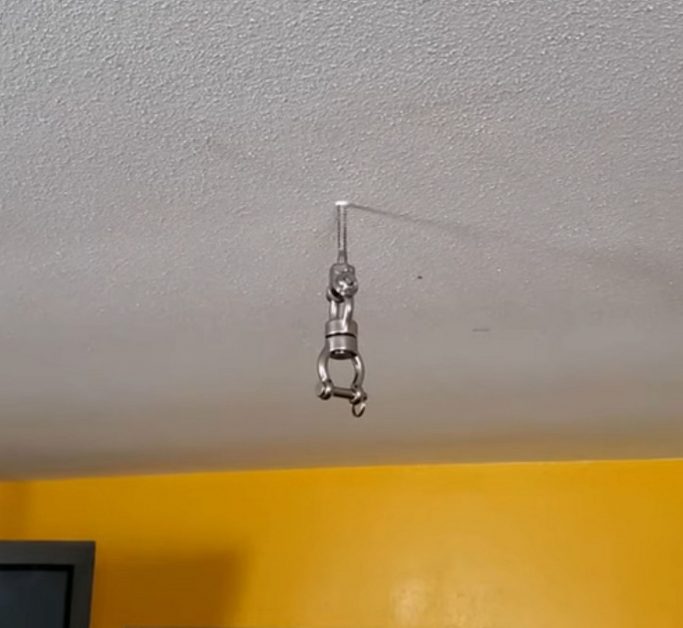
Ensure the beams or joists are in good condition and strong enough to bear the weight. Also, the S-hooks or carabiners should have at least four screws to provide even weight distribution. (1)
The hanging length will depend on the ceiling height. You also need to ensure the horizontal spacing is adequate for the hammock. It should neither be too loose nor too tight. Again, you will need nothing else other than your hammock and the straps kit.
Here is a summary of the steps for the 2nd option:
Step 1: Select the Beams
Find two suitable beams or rafters with adequate space between them.
Step 2: Drilling
Only do this IF you need to drill a hole in the ceiling.
Step 3: Straps
Wrap the hanging straps around the two selected beams, and feed one end of each strap through the hole in the other.
Step 5: S-Hooks
Attach the hammock to the hooks on both sides.
Step 6: Hammock
Attach the hammock.
Third Option: Installing a Complete Hammock Kit Indoors
Condition: You have enough floor space somewhere in your house. (2)

The third option is to install a complete hammock kit.
It is the easiest because you don’t need to worry about having strong posts or beams sufficiently spaced apart. You can simply assemble the kit and start using the hammock right away. The assembly instructions should be enclosed inside the kit.
However, it is the most expensive option because you must purchase a frame or stand to hang the hammock. Stands come in various forms and sizes. We recommend a foldable steel stand that can be put away easily. Wooden stands in different space-saving designs are also available.
Still, this option will take up the most space due to the stand. It may require considerable space, so it is only ideal if you have a large space available. That said, this option will give the advantage of moving the hammock easily.
Here is a summary of the steps for the 3rd option:
Step 1: Open Kit
Open the hammock kit and read the assembly instructions.
Step 2: Assemble the Frame
Assemble the frame according to the instructions.
Step 3: Attach Hammock
Attach the hammock.
Testing and Inspection
Testing
After constructing your hammock, before you start using it, it may be wise to test it first by placing a heavy object inside. Start using it once you are satisfied it can hold your weight.
Inspection
Even after using the hammock for some time, inspect the anchor points occasionally, and if you applied either of the first two options, the posts or beams. If there are any signs of sagging or other damage, you will need to strengthen them or find another suitable place. And, of course, you will always have the third free-standing option.
Take a look at some of our related articles below.
- Can you drill holes in apartment walls
- How to hide wires in exposed ceiling
- How to use a laser level to level ground
References
(1) weight distribution – https://auto.howstuffworks.com/auto-parts/towing/equipment/hitches/towing-weight-distribution-systems.htm
(2) floor space – https://www.lawinsider.com/dictionary/total-floor-space
Video References
HandyGuy 2016
ASlingSwing