7 min read
Can You Replace a 15 Amp Breaker with 20 Amp?
Sometimes simple things can be complicated when it comes to your home’s electrical system. This article will examine whether you can replace a 15 amp breaker with a 20 amp circuit breaker.
Often, a breaker might be tripping due to high loads of appliances connected to it. That is when homeowners decide it is time to upgrade their breaker from 15 amps to 20 amps. That belief is not always correct since the system needs to meet specific requirements, to perform that kind of upgrade.
In general, it is possible to replace a 15 amp with a 20 amp breaker. However, it is not recommended to make such a replacement without the consultation of an electrician. If the gauge wire can support the 20 amp breaker and the 20 amp breaker can fit into the mountings in the box while the rated amperage is compatible, you can proceed with the installation.
We will go into more detail below.
A Few Words About Your Home’s Electrical System
Before making any decisions, you must first familiarise yourself with your home’s electrical system.
Each house receives electricity from the grids in each city. Electricity runs through several circuits in the house, and the breakers regulate its speed and power. Most US homes use breakers and outlets with a 15-amp capacity.
Let’s take a closer look at the breakers.
Breakers
Their main function is to prevent hazards or damage caused by the flow of electrical current.
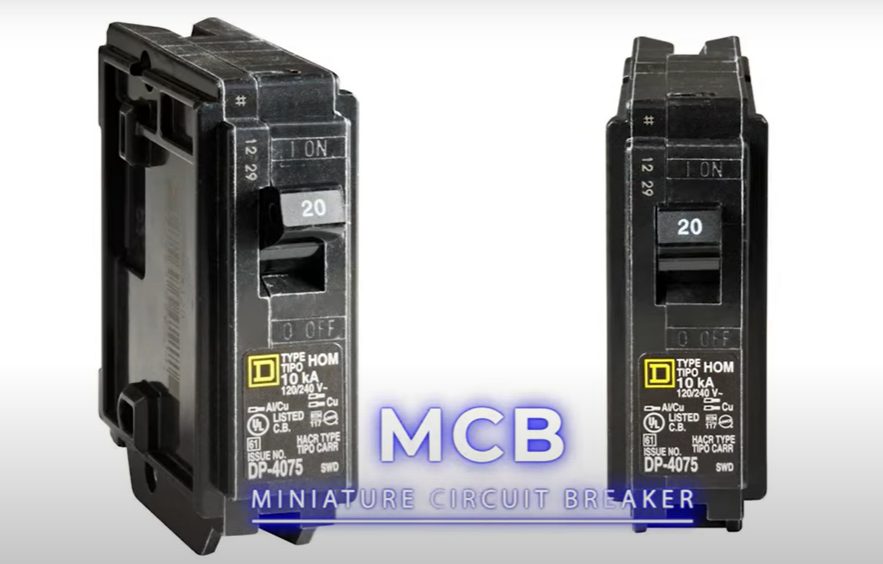
Once a power surge erupts, the breaker immediately trips, cutting the power in a specific circuit within the electrical system of a building. The breakers are rated by their maximum fault current interruption capacity and their maximum-current tolerance. Most homes have miniature circuit breakers that carry up to 15 or 20 amps.
A 15 amp circuit breaker is used for 12 amp circuits, and a 20 amp breaker is used for 16 amp circuits.
Gauge Wires

Each type of breaker corresponds to a wire gauge.
The wire gauge is a measurement to determine the diameter of a wire. The American Wire Gauge appoints a wire gauge number to a specific use, with 18 being the thinnest and four being the largest.
Wire gauges are crucial for the smooth operation of the circuit. They are manufactured to handle specific amperage rates, and their thickness prevents overheating to a hazardous point.
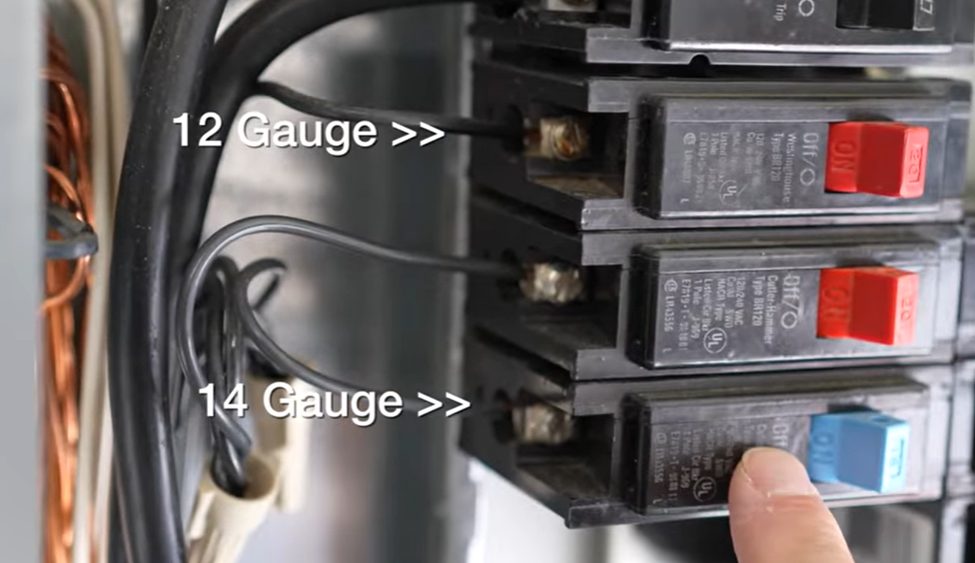
15 amp breakers mostly use 14-gauge wires, while 20 amp breakers use 12-gauge wires.
Can You Replace a 15 Amp Breaker with a 20 Amp Circuit Breaker?
It is possible to replace a 15 amp breaker with a 20 amp breaker but the issue is the hazard that may emerge.
Most circuits that use 15 amp circuit breakers are built usually with 14-gauge wires. Breakers with a 20 amp capacity cannot function properly with that gauge number, creating fire risks.
An electrician’s evaluation is crucial for the process.
Requirements
If you need to upgrade the breaker amp, your electrical system must fulfill certain requirements not to be dangerous.
1. Wire Gauge
Due to the lack of thickness of the wire, the 20-amp breaker cannot be supported by a 14-gauge wire.
However, 15 amp breakers can be supported by both the 14-gauge and the 12-gauge wires. If your electrical system is composed of 12-gauge wires, it is possible to install a 20-amp circuit breaker.
You need an electrician’s assistance to verify that the system is made of 14-gauge wires.
2. Amperage Capacity
In this case, the amperage capacity requirement is already fulfilled.
For future reference, the breaker must handle the same amount or higher than the original circuit breaker. If that does not happen, the system can easily overload and overheat. The most probable outcome is a fire or burnt components.
3. Mounting Fitting
There are four types of mountings for a circuit breaker:
- Cubicle/cellular type
- Truck type
- Metal-clad type
- Open type
Each type has a different function. Your new breaker needs to have the same mounting as your old one.
How to Replace the Breaker?
You can proceed with the breaker amp upgrade if all of the above requirements are met.
What you will need:
- Insulated gloves
- A flathead screwdriver
- A voltage meter or multimeter (it needs to have a non-contact function)
- A headlamp (optional)
- A 12-gauge wire (if you have a 14-gauge wire)
1. Power Off the Electrical Supply
The first step is the most important.
While electricity is useful, it can also be excessively dangerous. Thus, it would be best if you switched off the electricity supply before tampering with the system.
2. Open the Breaker Panel

Once the power is off, you will head to the circuit breaker panel.
Even though you have powered off the system, you still need to stay protected from accidental power surges that might occur while working on the panel. Wearing your insulated gloves, you will remove the screws and the panel’s cover with the screwdriver.
Tip: to prevent the cover from falling, stabilize it with your hand while removing the final screw.
3. Inspection
Inspecting the tools you will use, and the wiring system is an important step to ensure the success of the process.
- Confirm that your tools have insulating plastic handles.
- Since you have powered off the main supply, all breakers must be cool.
Tip: a licensed electrician can help you confirm that all wiring systems are in good condition and do not require replacement or maintenance.
4. Wire Gauge Check
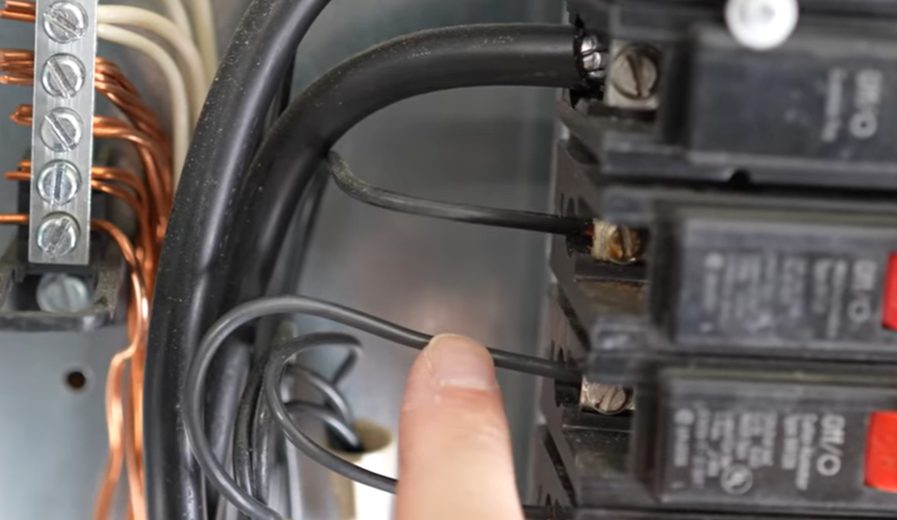
To check the wire gauge, note that there identify the number on the insulated part of the wire. It will most probably write the diameter of the cable in inches.
- The 14-gauge wire is 0.06 inches thick
- The 12-gauge wire is 0.0,8 inches thick
To change the wire gauge, you will need an electrician.
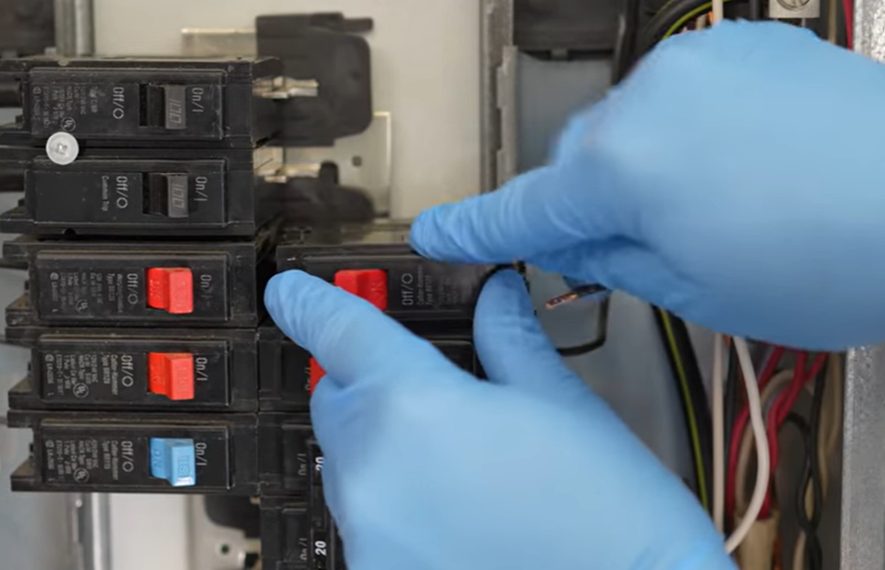
5. Take off the Old Circuit
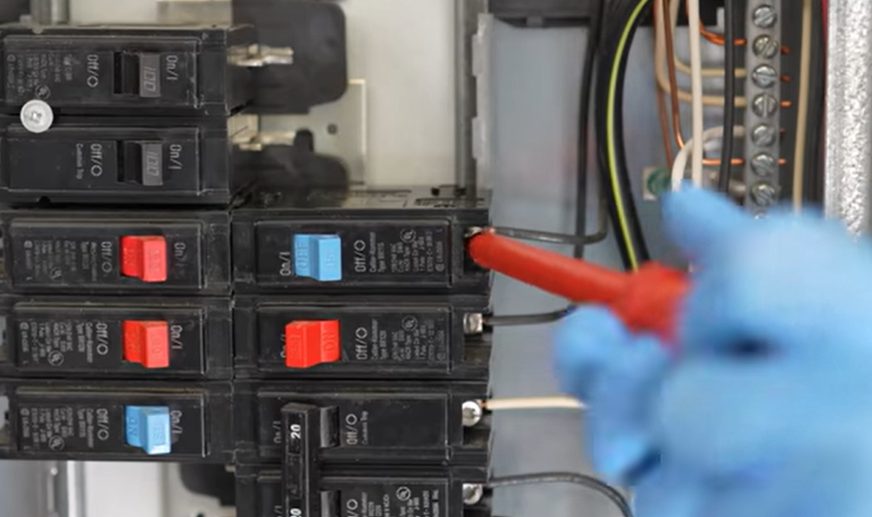
Test if any current flows through the system with the voltmeter or multimeter. Loosen the screws that stabilize the wires and unclip the circuit breaker.
Note that some breakers do not use a clip; instead, they use screws to hold them in place.
6. Install the New Breaker
Place the new breaker on the panel.
You either need to screw it in place or clip it. You need to connect the wires in the same way to the old breaker. Then, place the screws to keep them in position.
Switch on your home’s electricity supply and then turn on the breaker.
With your meter, check the voltage of all circuit breakers and the voltage of the new breaker to ensure they are the same.
7. Close the Panel
Now that you have completed the breaker amp upgrade, you can close the panel.
Before putting the screws on, you need to switch the power supply off again. Confirm that all circuit breakers on the board are switched on. Once it is off, you can place the cover in its place and secure it with the screws.
You can now switch on the power supply.
Video References
Electrician U
Silver Cymbal